Happy New Year everyone! I hope your 2011 had the best possible ending and that 2012 will be fabulous!
Here's another review post from me. I decided to put all "non-layout projects" in the same category and here are my 10 favourites from 2011 - in no particular order. :)
This was a year full of new things... a new baby(!), new supplies to explore, new techniques to learn.... I started to paint and draw and created things I never thought I could do....! It's been a strange but amazing year and I'm looking forward to even more experimenting, learning and exploring in 2012...!
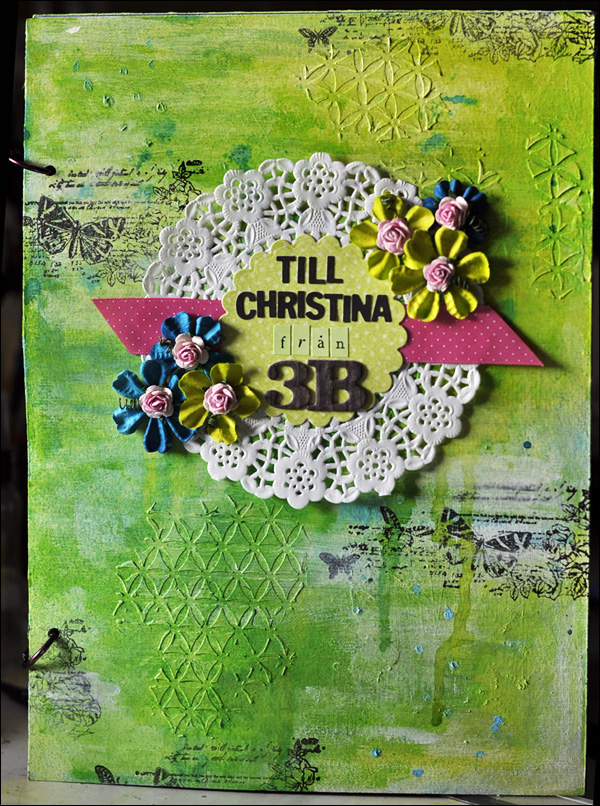
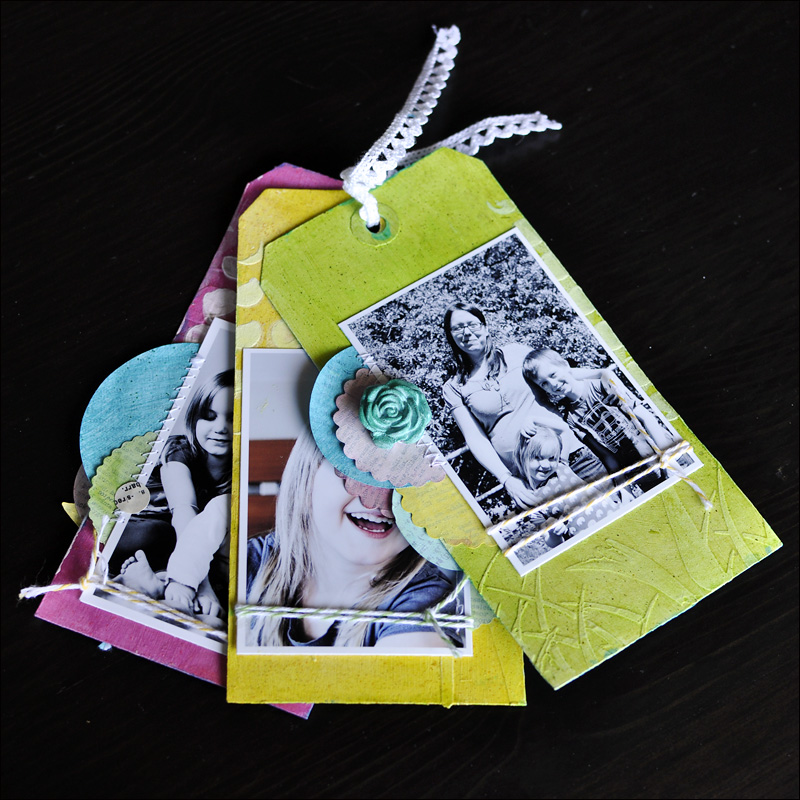
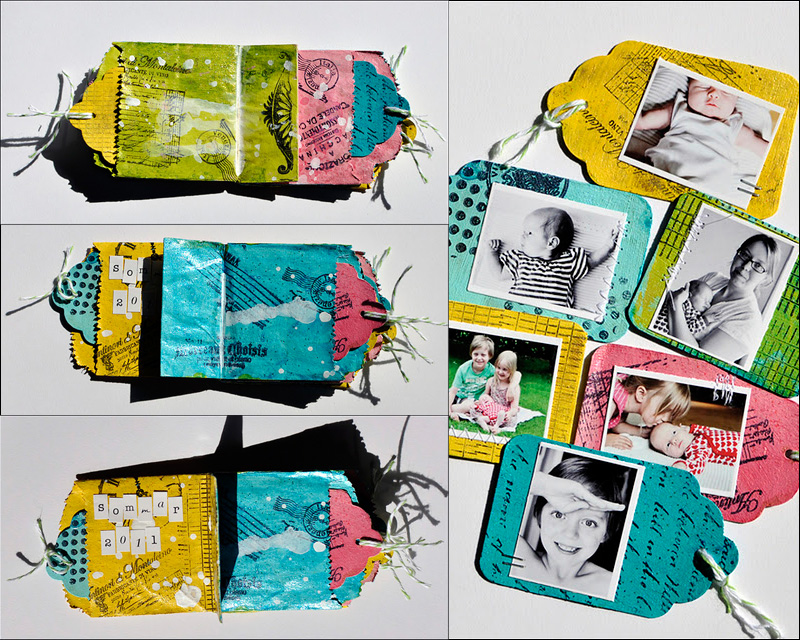
This minialbum was so fun to make and I just love all the colors.
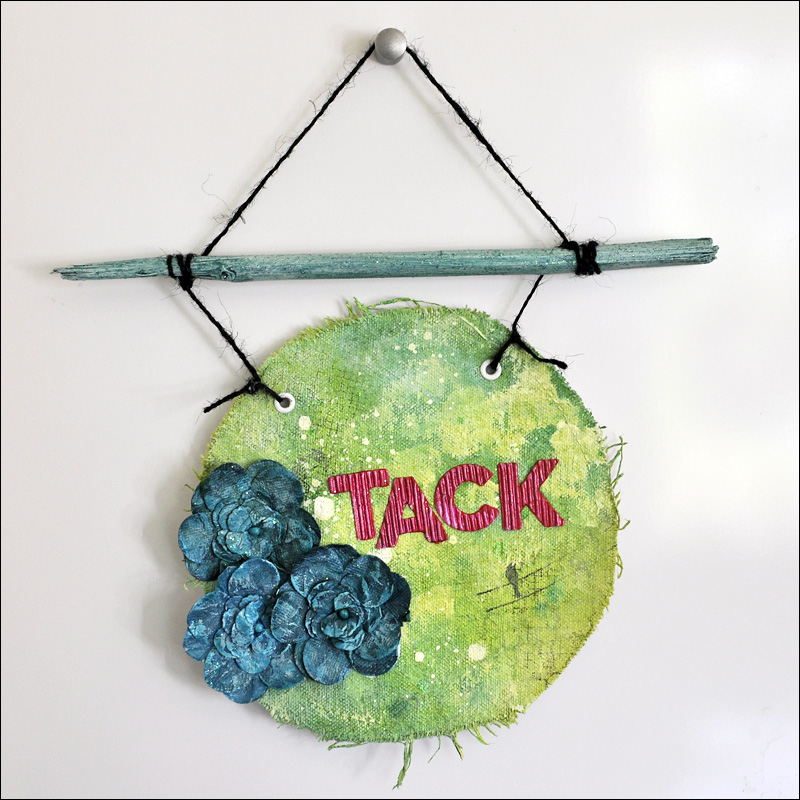
I love how these butterflies turned out. It's such a fab feeling when you get an idea and it works! :)
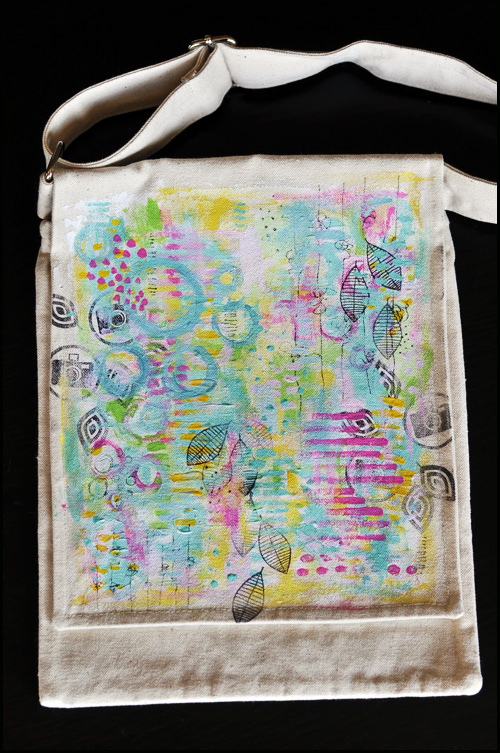
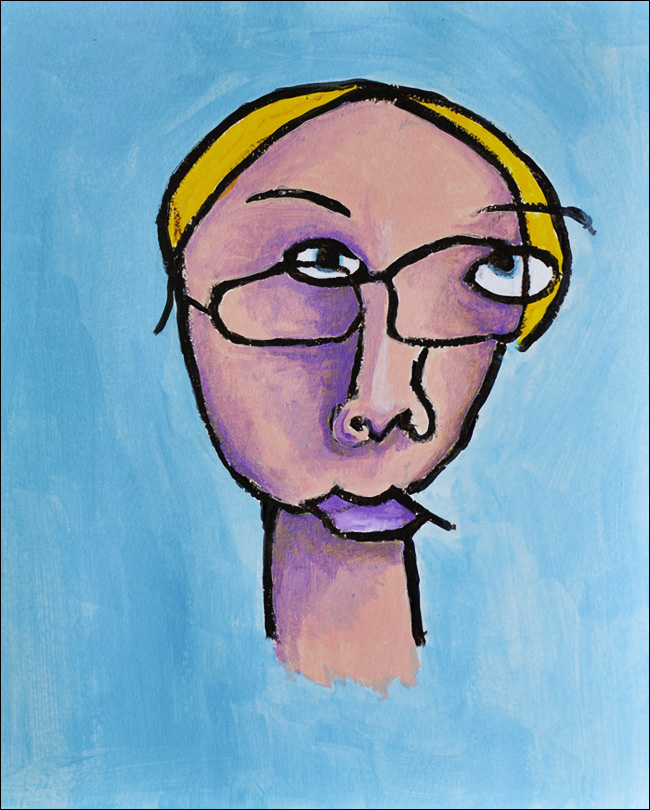
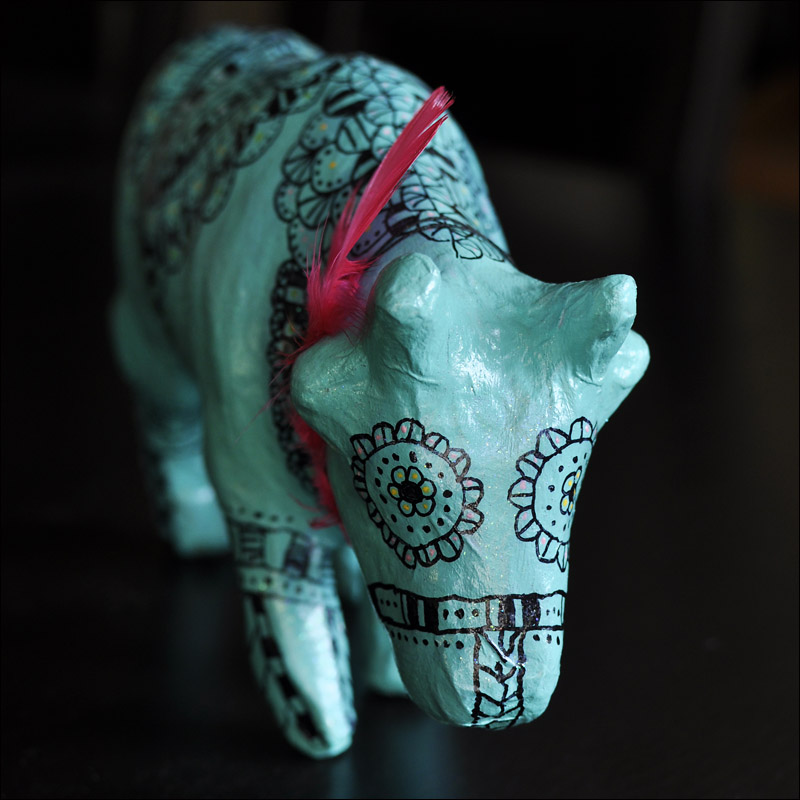
This was made with so much inspiratiom from
Megan K. Suarez. It was something new. I've never painted anything like this before.
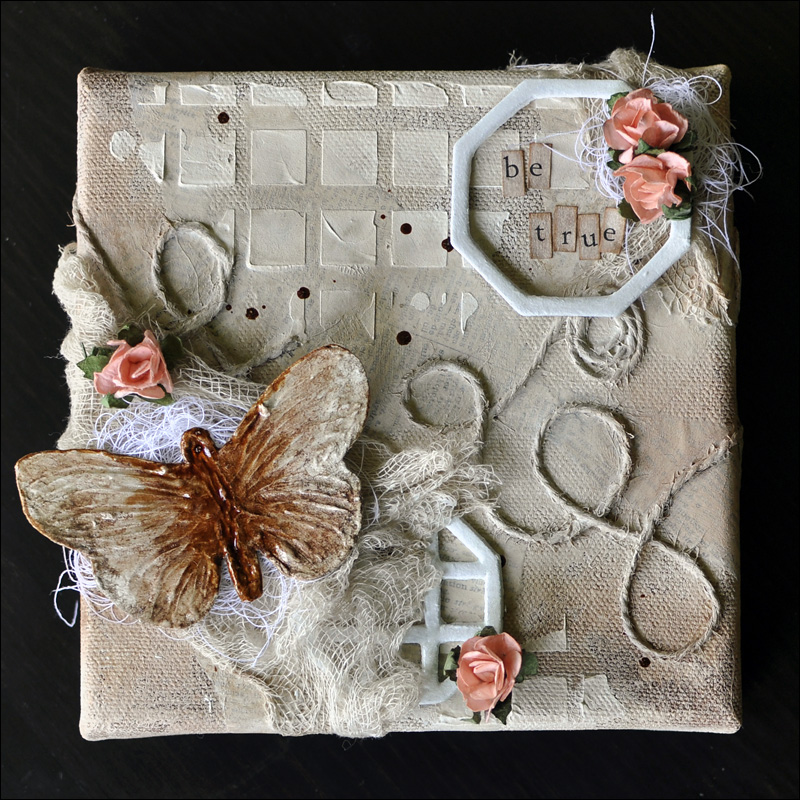
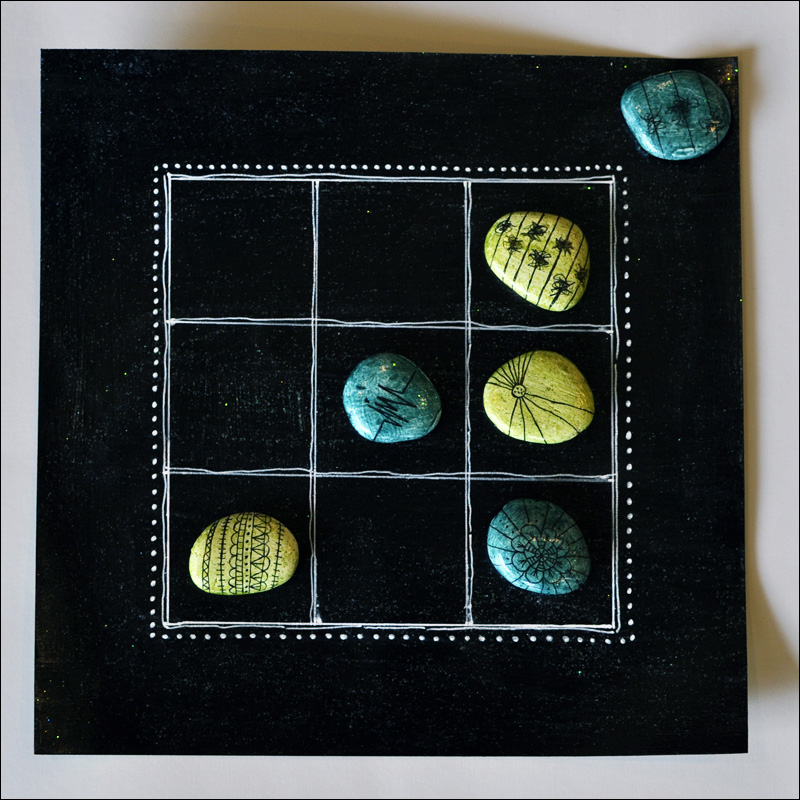
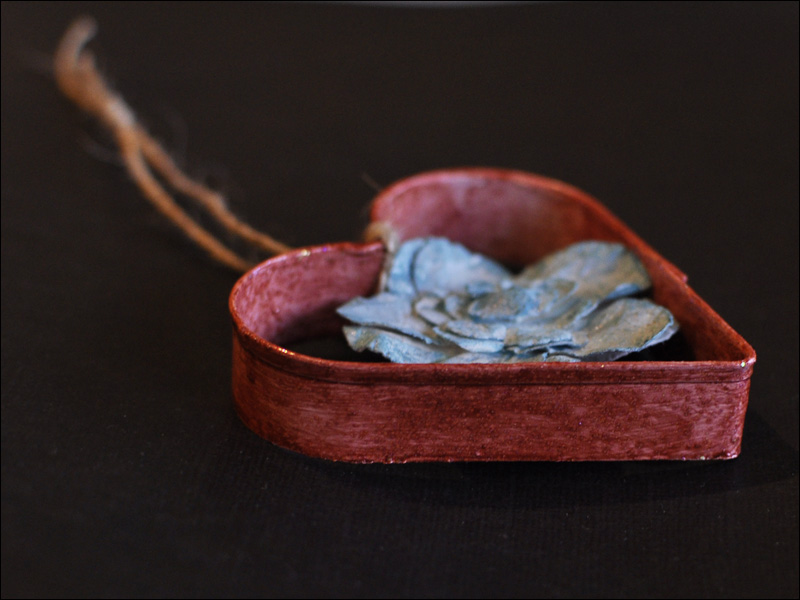
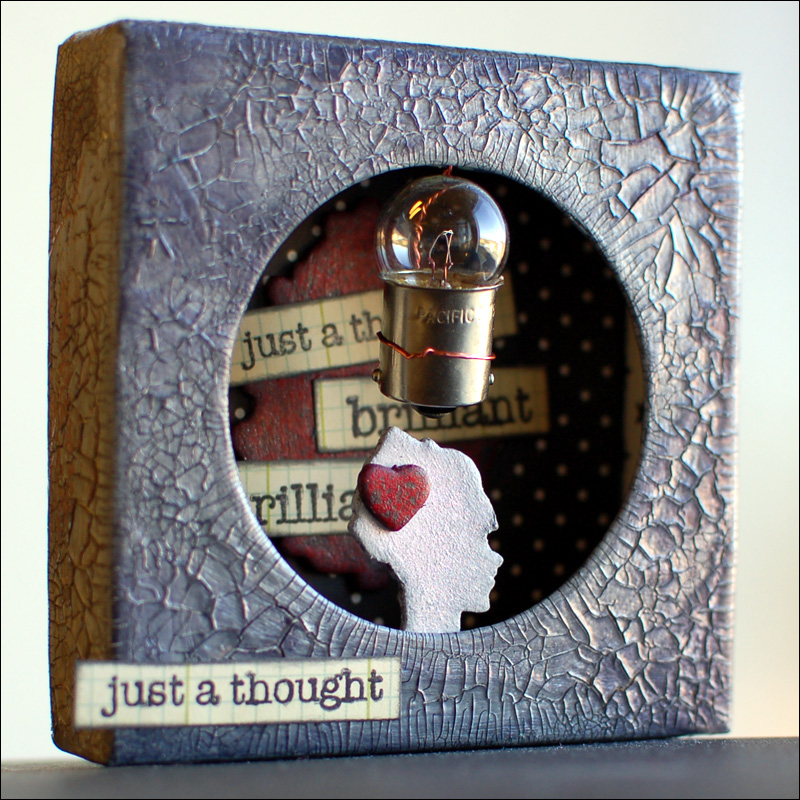
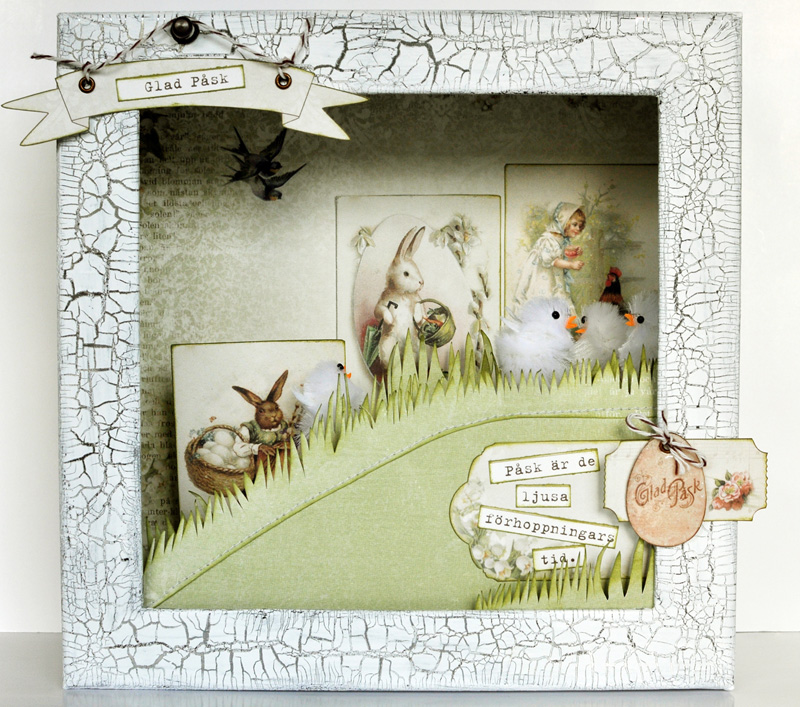
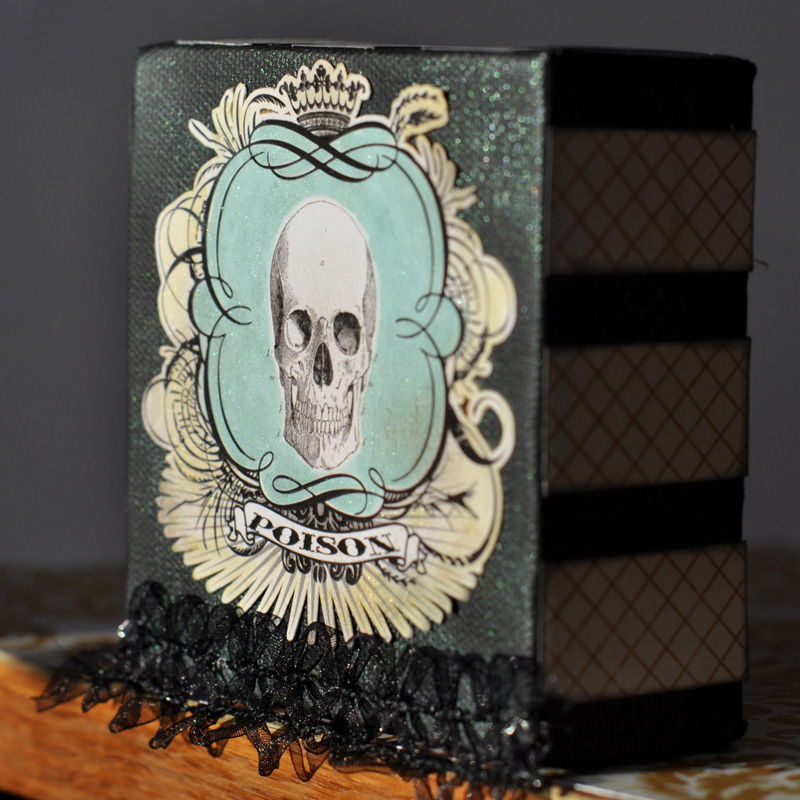
This was so much fun to create. I would love to dive into the world of assemblage!
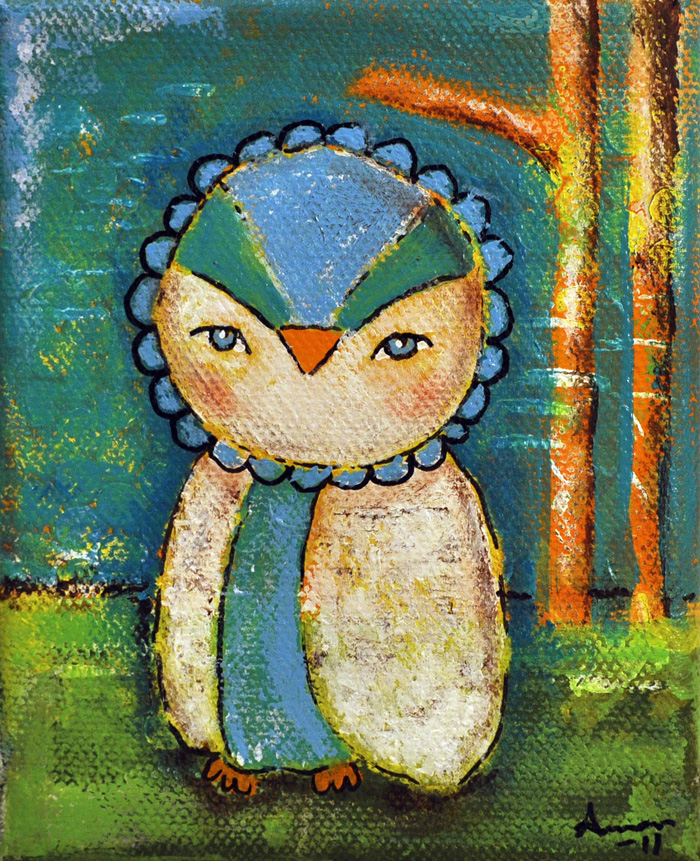
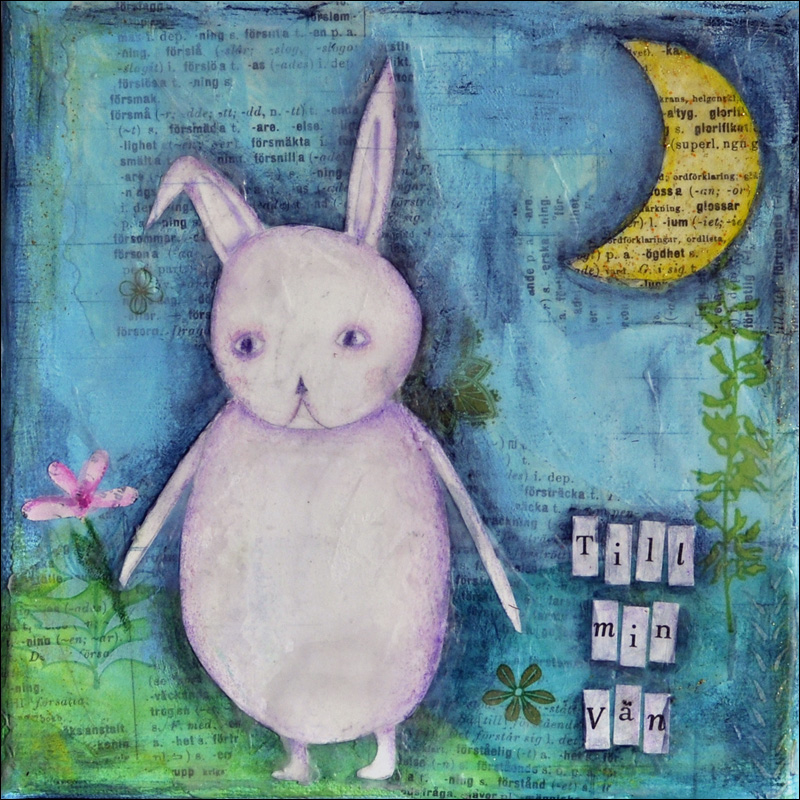
I took the class "How to paint an owl" by Juliette Crane and I love how this little one turned out.
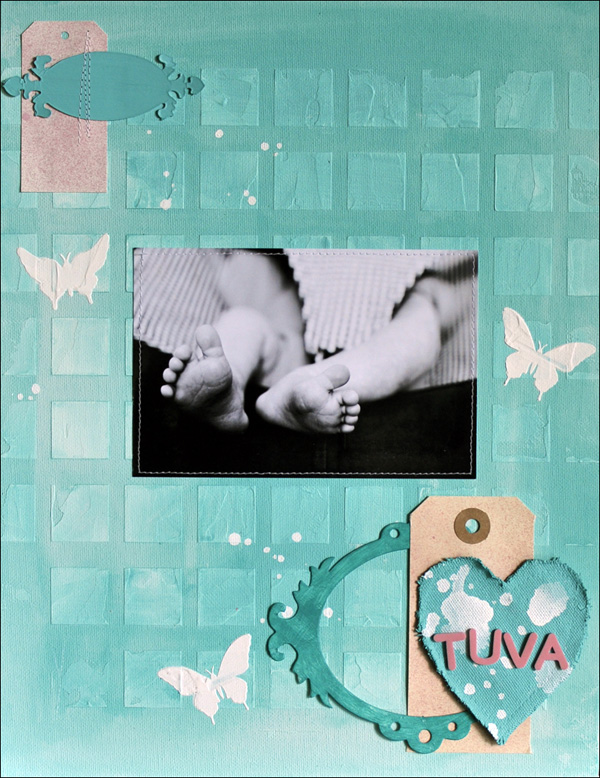
The stencils from Crafter's Workshop were a huge hit this year. I love them so much. And Tuva's toes... love those too of course!
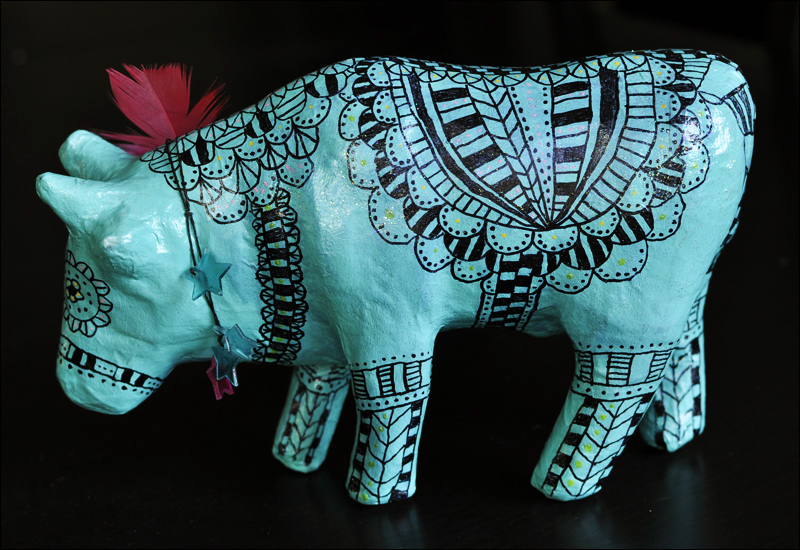
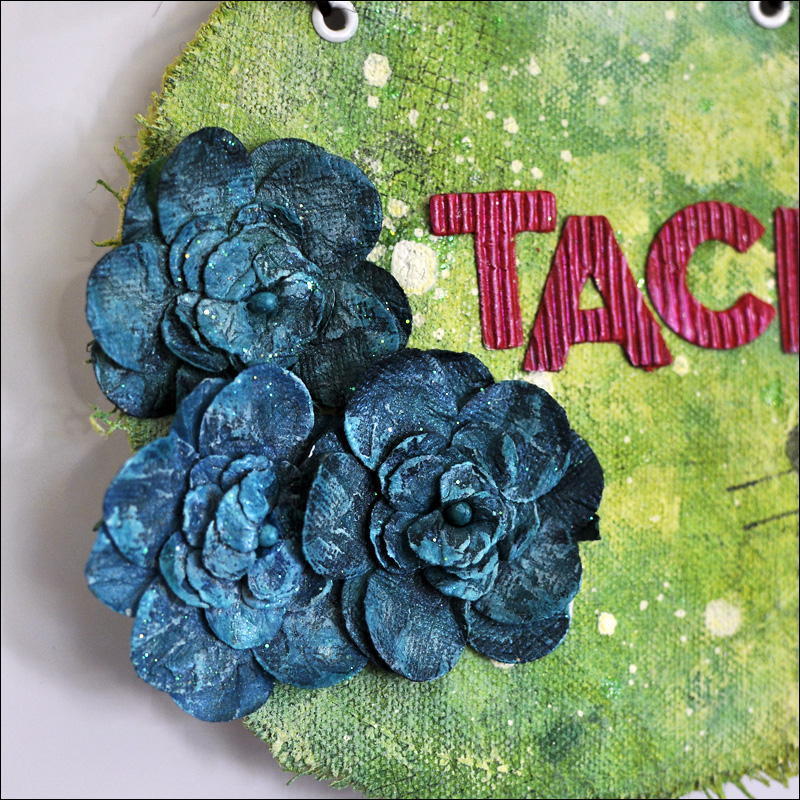
This felt like something so unlike me.... and again, it was so much fun to put together!
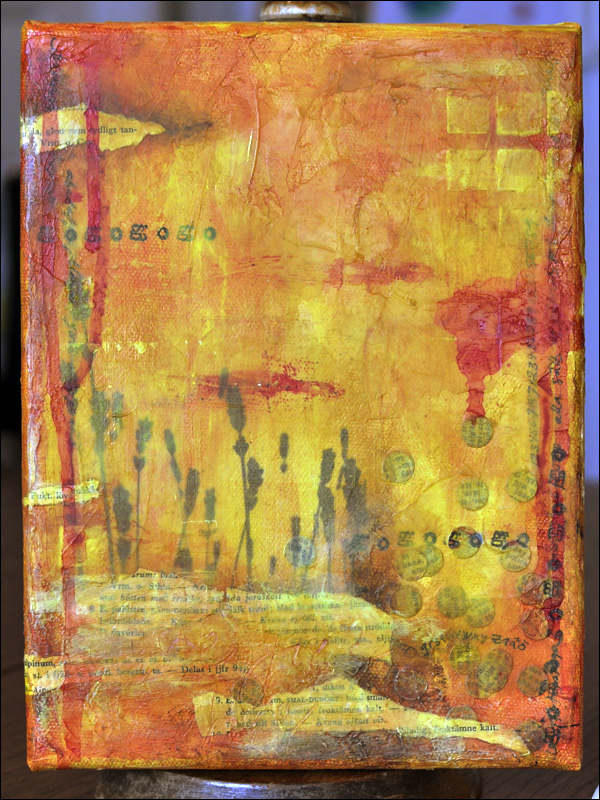
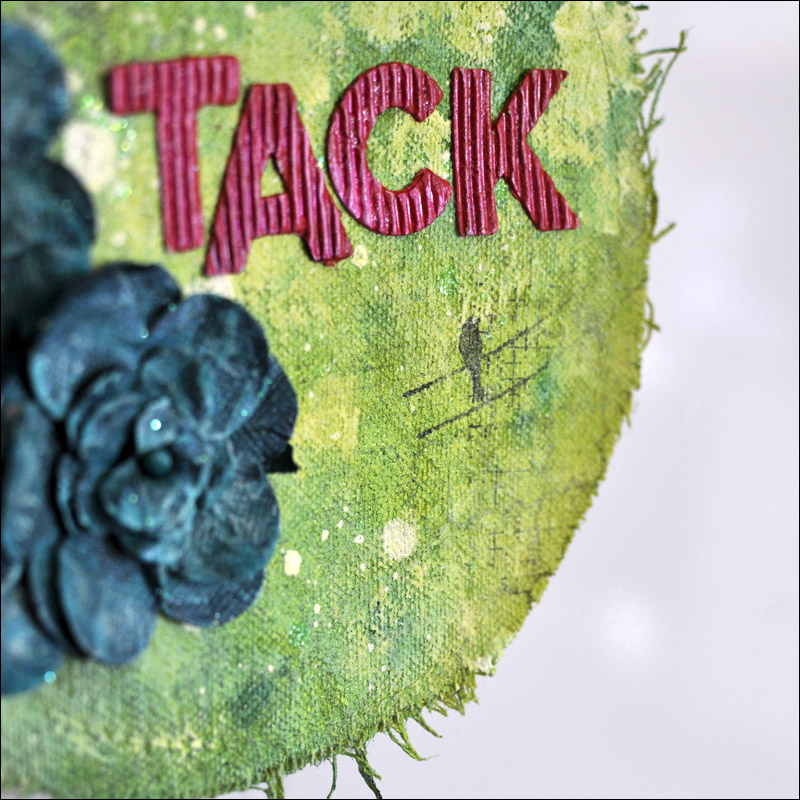
One of my first completed mixed media paintings ever. It's covered with wax and that was another 'first'. So so fun....! Made with lots of inspiration from a Suzi Blu class.
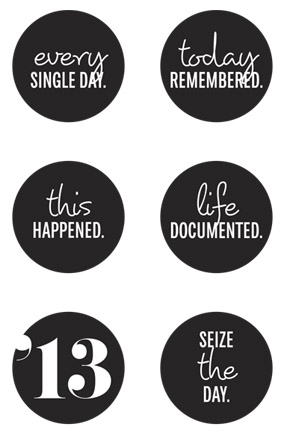
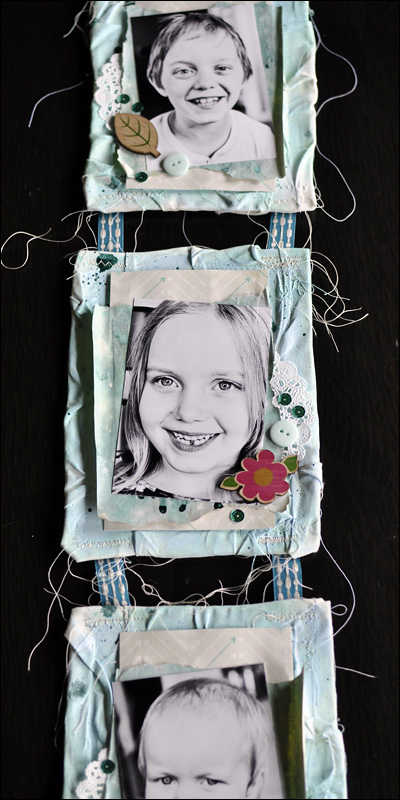
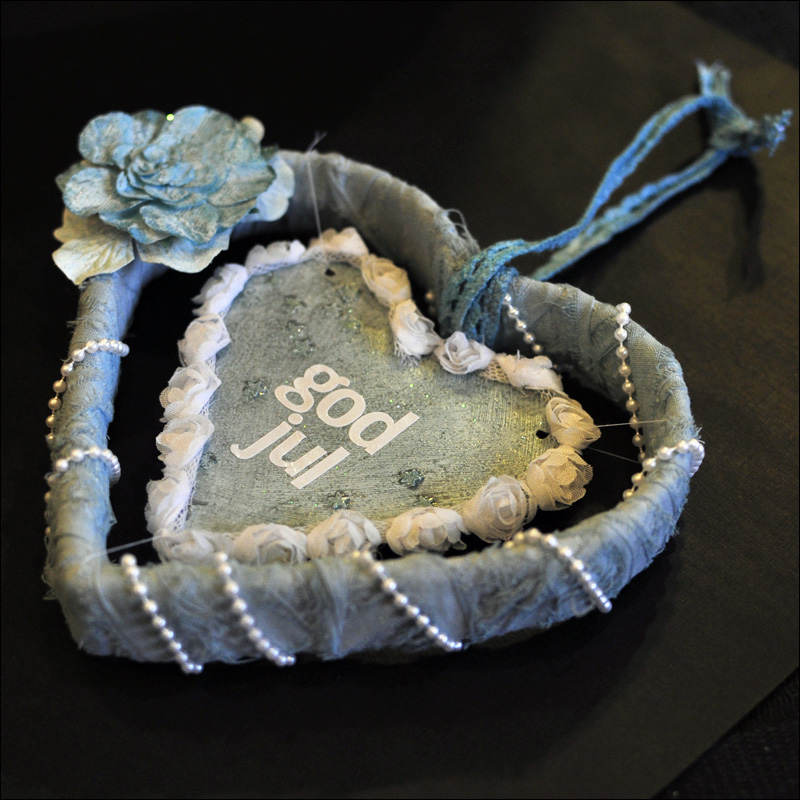
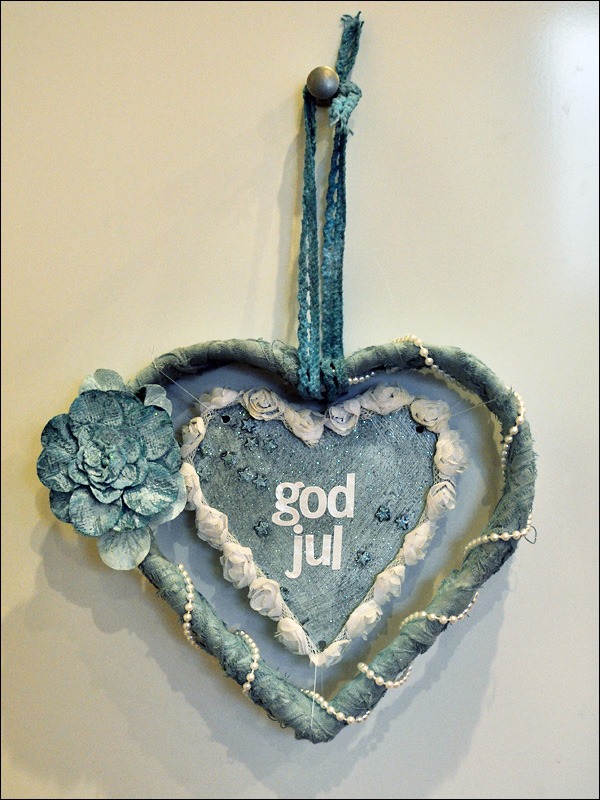
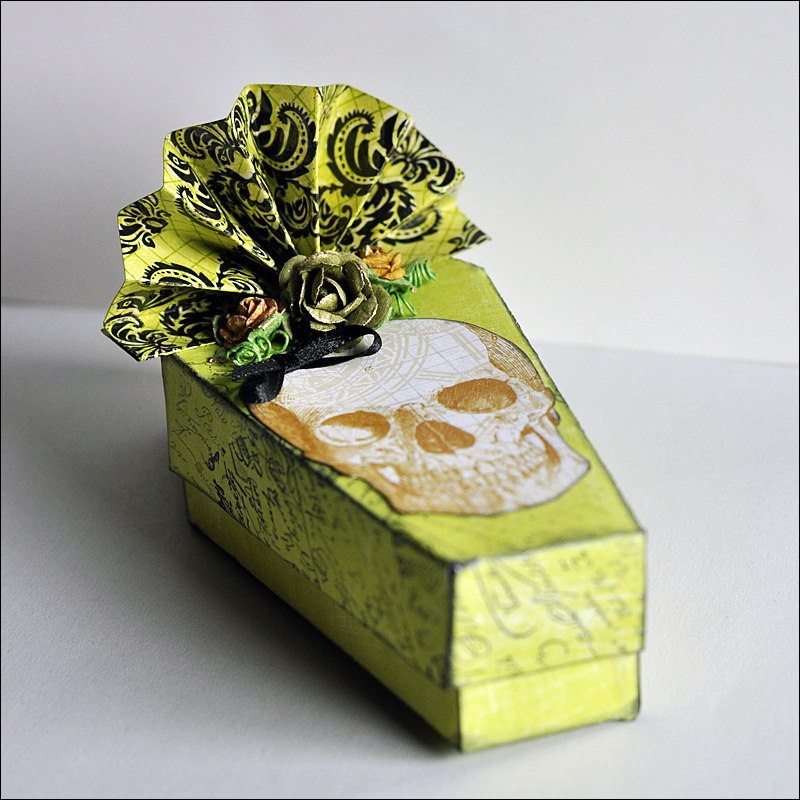
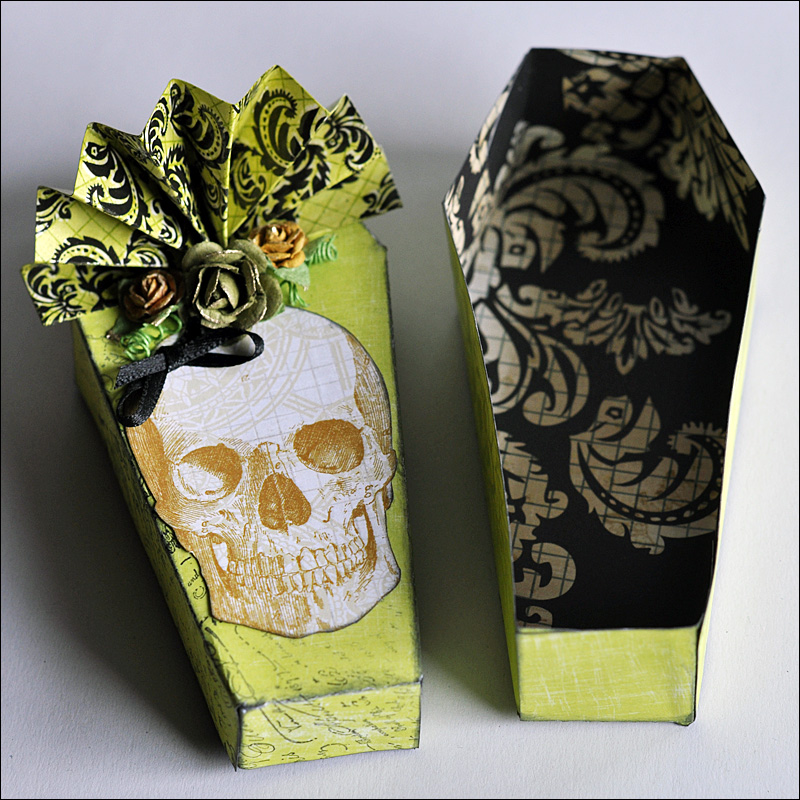
The only handmade Christmas gift I made. They're far from perfect if you take a closer look, but I still love them. :)
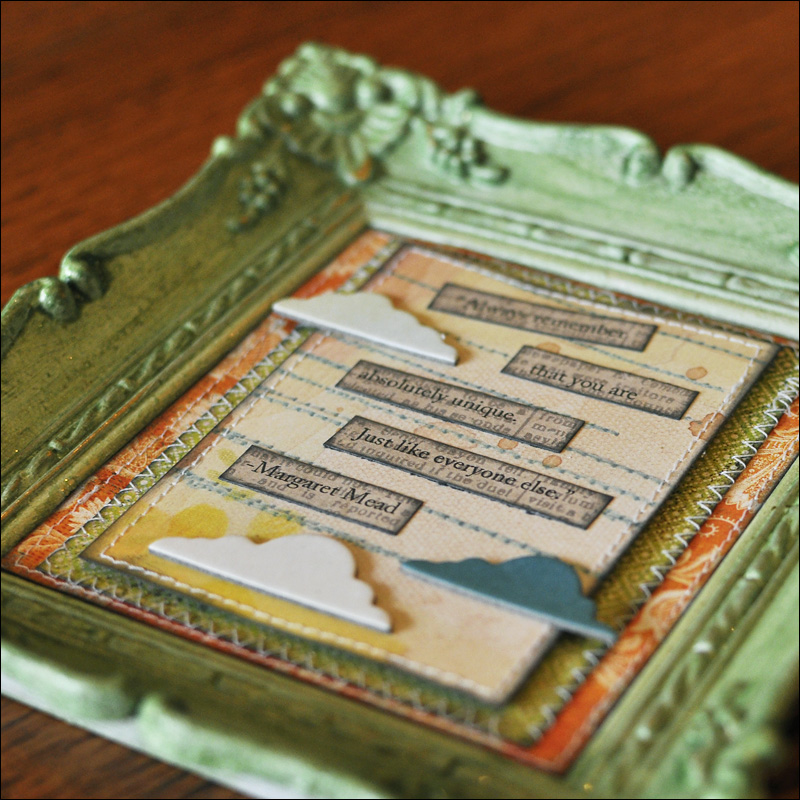
Texture and color... another Crafter's Workshop Stencil and the cutest little Maya Road Window.
To all of you who have been stopping by during 2011 - a huge thank you!


