Sidor

Visar inlägg med etikett acrylic paint. Visa alla inlägg

lördag 3 januari 2015

Pajama time!

The January kit from Cocoa Daisy is called Pajama time! It arrived a bit late here, due to the craziness of the holidays, but I loved getting a late Christmas gift and had lots of fun playing with the kit.

I realize when seeing them together that my three layouts are quite different in colours and it's not obvious that they are created using the same kit as a base. I love all the different possibilities with the kits Christine puts together! There's also a very inspiring thread on the MB, showing examples of possible colour combinations - check it out!


The arrow is from the stitching template included in the DITL add on.


The mask that I used on my second layout comes in the main kit. I used gesso, acrylic paint, mist and glimmer glaze.


I cut the fox out from one of the papers in the patterned paper add on.
 

Grocery shopping with this little lady is always an adventure... :) This day she was all smiles, singing her way through the store... I used some of the stamps from the DITL kit around the edges of this layout.


onsdag 31 december 2014

Good bye 2014...

This has been a very strange year. So many emotions and quite a bit of struggling, from the beginning of the year and all the way to the end.

I lost my Dad in an accident in early November, and I really didn't need another reminder of how fragile this life of ours is. I don't have words to express how I feel. I just miss him so very much.

This year I took the huge step of taking some time off from my job and going back to the University. The goal is a totally new career as a teacher. I've loved it so far and I really hope that I'll still feel this way at the end of 2015.

Here's a page that I made using the mica flakes and the texture paste (white crackle) in the December Project Art kit from Cocoa Daisy. I glued down strips of fabric to my page and painted them with gesso and acrylic paint. I drew the feathers on a gray paper and cut them out.

The writing simply says: "I wish for a good year."


fredag 10 oktober 2014

And what about yellow, orange and red...?

I wanted to explore some colours that I rarely use. Most of the time I turn for different blues and greens and these aren't "my colours" in the same way. It was really interesting how clearly I could feel the difference while painting. I felt so much more insecure and I wasn't at all sure where I was heading.

But I am so glad that I challenged myself and I like the result. I am also happy that I came up with the idea to use the green wall in Linus' room to take photos. :)

Size: 20x30 inches (approx. 51x76 cm)

I just have to add the other two as well, against the green. :) The light wasn't perfect though, and they are a little too dark at the top compared to the bottom part in these photos...

Size: 18x24 inches (approx. 46x61 cm)

Size: 12x24 inches (approx. 30x60 cm)

Have a wonderful weekend!

onsdag 8 oktober 2014

And then I painted some more...

...exploring the same shapes, but different colours...


Size: 18x24 inches (approx. 46x61 cm).

måndag 6 oktober 2014

The painting...

It measures 30x60 cm, which is approx. 12x24 inches. I mostly used acrylic paint, but also some collage and a marker and probably something else that I have forgotten about... :) It's tricky to get a good photo of it! The edges of the canvas are painted blue but I cropped the image because of the messy background. I should find a not-so-messy spot to take photos where the whole canvas is visible. :D

 
I actually made a drawing with this kind of shape while being at the University and listening to a lecture a few weeks ago. Being a student is good for your creativity... :D


fredag 26 september 2014

...more paint...

...on a canvas this time...! I can't wait to paint more and to go even bigger! :) I'll show you the whole thing when I've been able to take a decent photo. It's not huge, but about 30x60 cm (approx. 12x24 inches).

Have a fab weekend everyone!


söndag 21 september 2014

Cocoa Daisy September Project Art kit

The September Project Art kit from Cocoa Daisy contained Liquitex String Gel, two “fragments” designed by Ronda Palazzari to use as masks, an exclusive Cocoa Daisy stamp “little dots”, a Fude Ball pen, a tube of Dina Wakley acrylic paint “ruby”, a graph card and a piece of sewing pattern.

I really love String Gel! It's so fun and messy! :) You can use it as it is (it's white, but dries clear) or you can colour it with paint. Here I used the red Dina W paint and Liquitex Acrylic Ink in gold.

For more images, ideas and info, please visit the Cocoa Daisy blog.


I also tried making patterns with gel + black paint and then filling some of the spaces up with other colours.


I made some green grass...


I used mist and then rubbed some acrylic paint on top of the gel, to make it stand out.


I created this very simple layout with this three year old photo of baby Tuva! :)


I also created this page in my journal, practicing some writing with the gel + black paint.


fredag 19 september 2014

Art journal pages...

Hello....! I'm still here!

My studies at the University have started and it's been really busy. I will be doing most of the studying from home, but we do meet up at the University a few times during the term and I had a very intense week when it all started. I'm taking courses at two different Universities and we had our first meetings at both of them the same week. Now I've had two weeks at home and it's crazy how fast the time goes by! I admit that it's a bit difficult to find the balance between studying and "everything else", but I hope I'll do ok. :)

When I was looking at my poor neglected blog I realized that I have forgotten (again) to post my latest work with the Project Art kits from Cocoa Daisy. The kits are now available as a subscription - if you sign up you know that you'll never miss out on a kit!

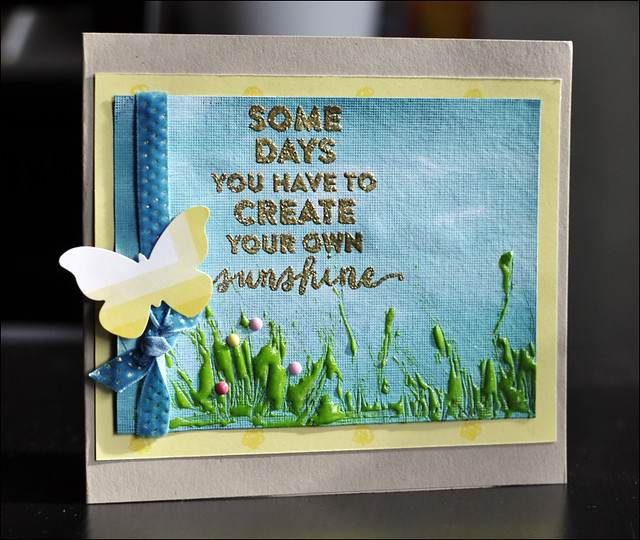
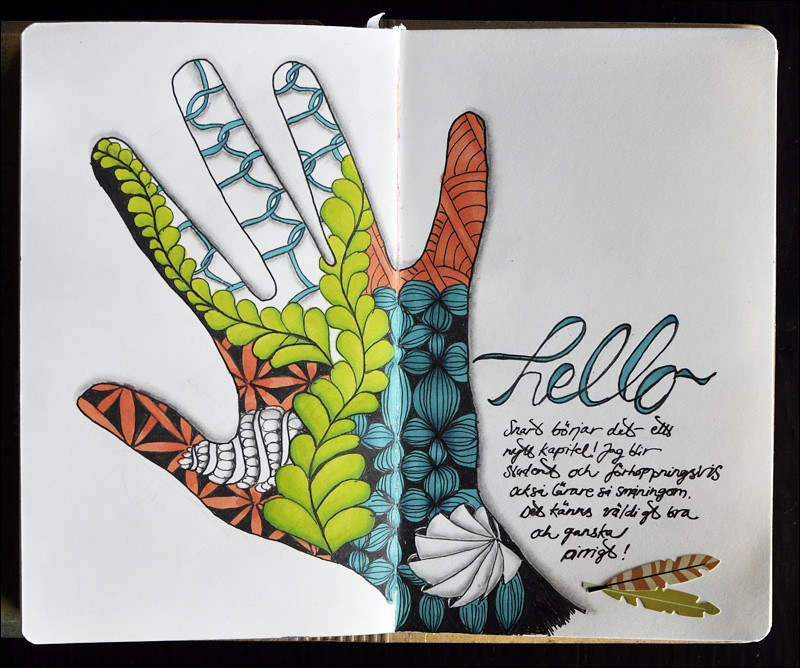
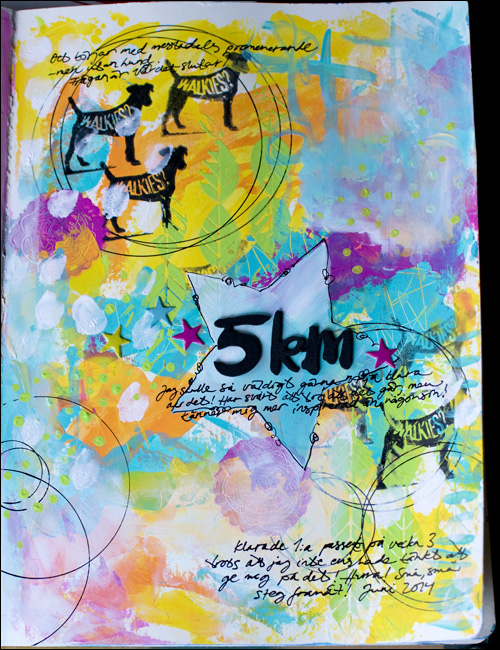
The July Project Art kit contained eight Promarker pens, and two Maya Road mists and this is my favourite project made with the July kit. I've been curious about "zentangling" for quite some time, but this was the first time I really gave it a try. There are a million tutorials and instructions out there and I watched YouTube-videos to find inspiration for the patterns that I used to fill up the outlines of my hand. I then coloured the patterns with the Promarkers and used a pencil to add some shadows.


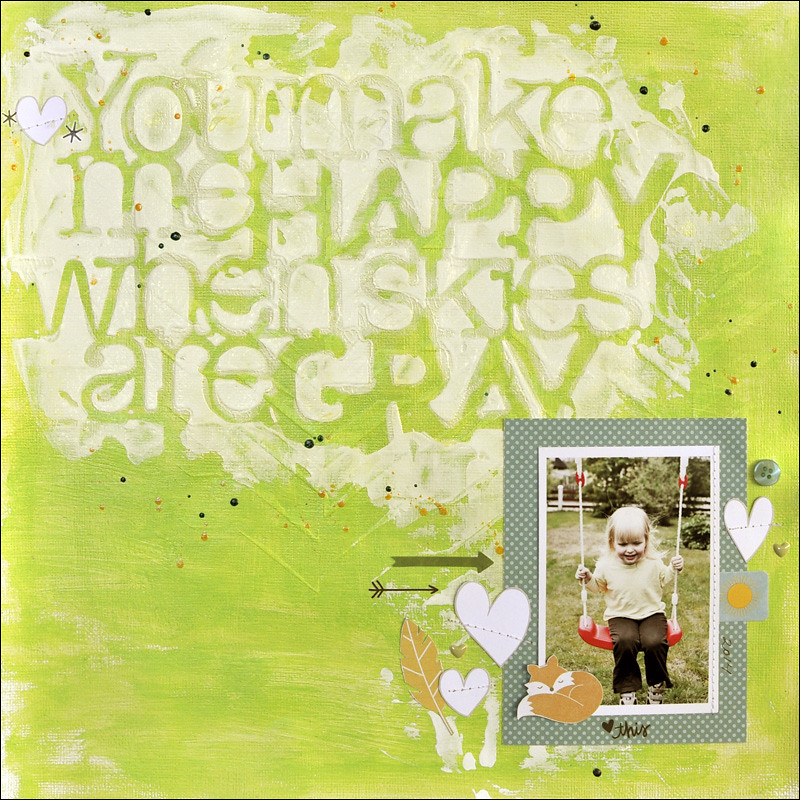
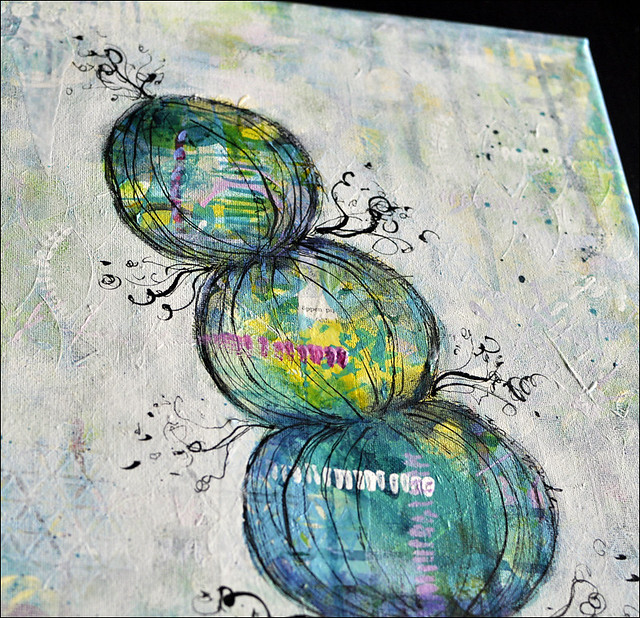
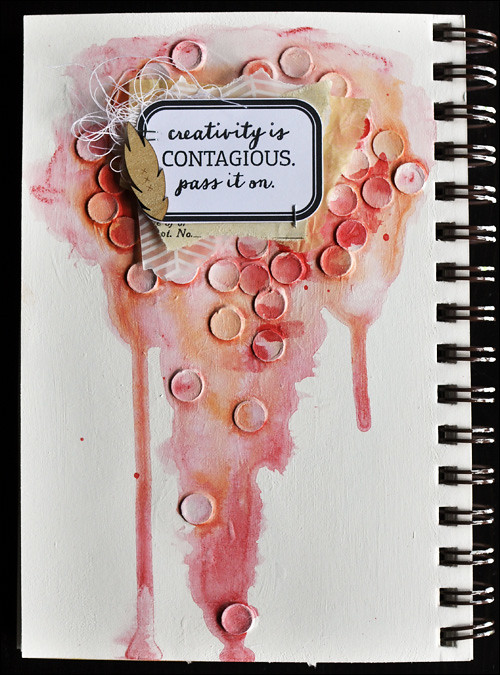
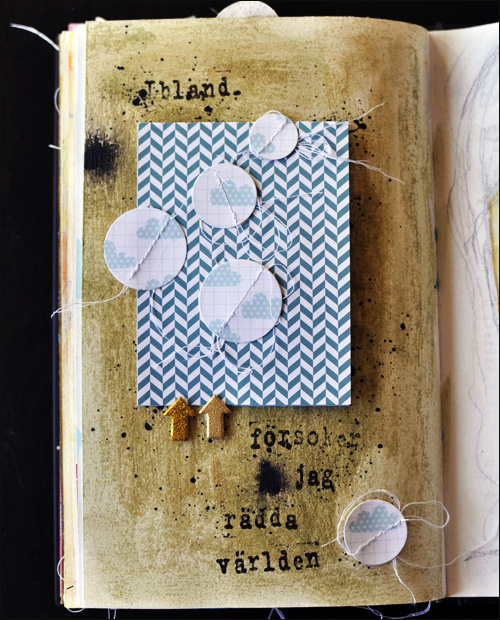
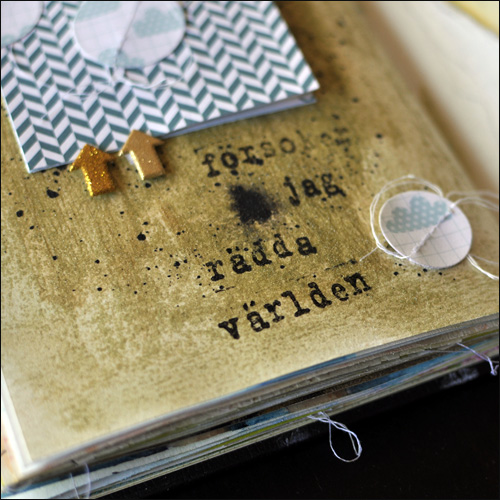
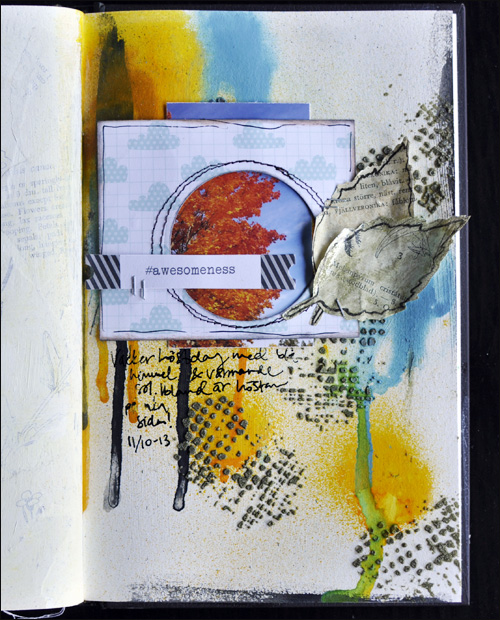
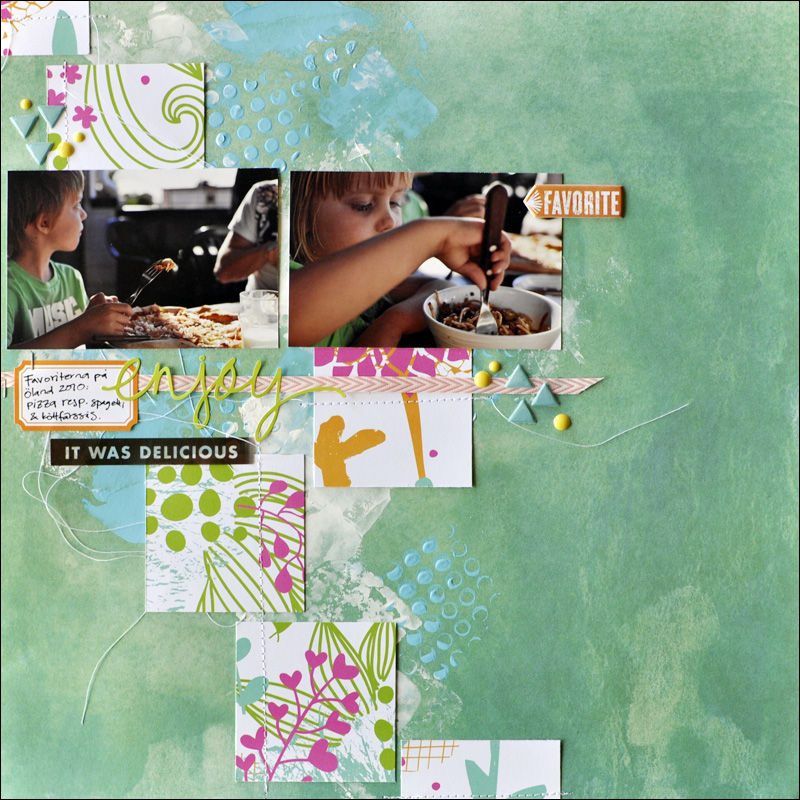
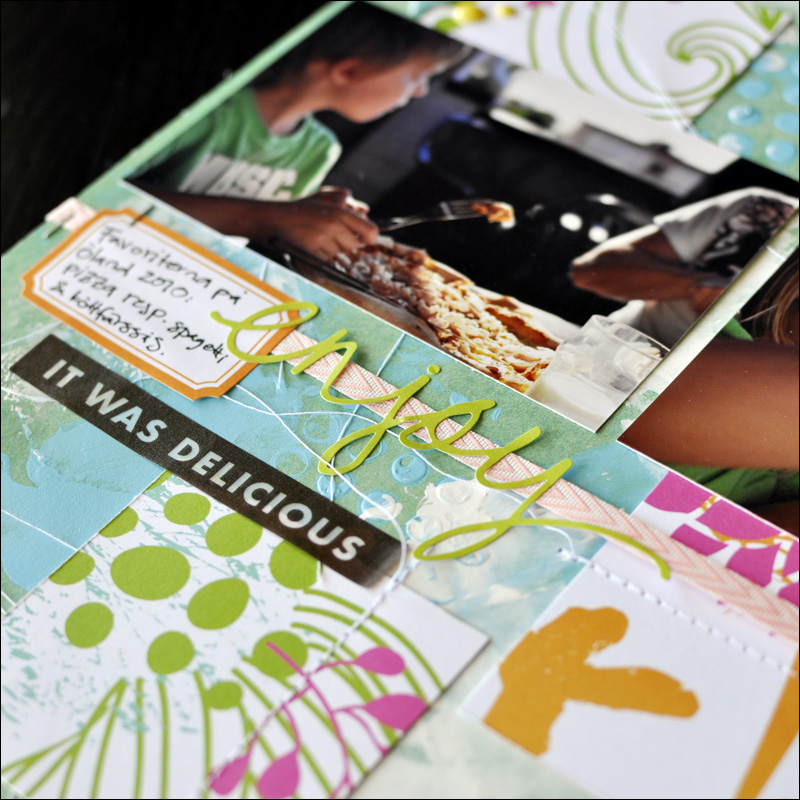
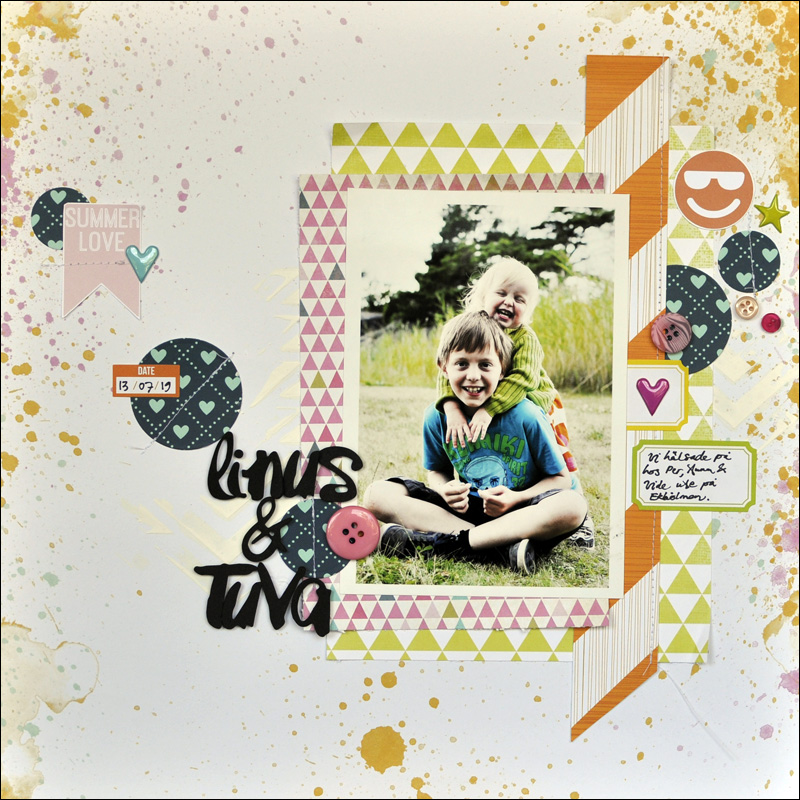
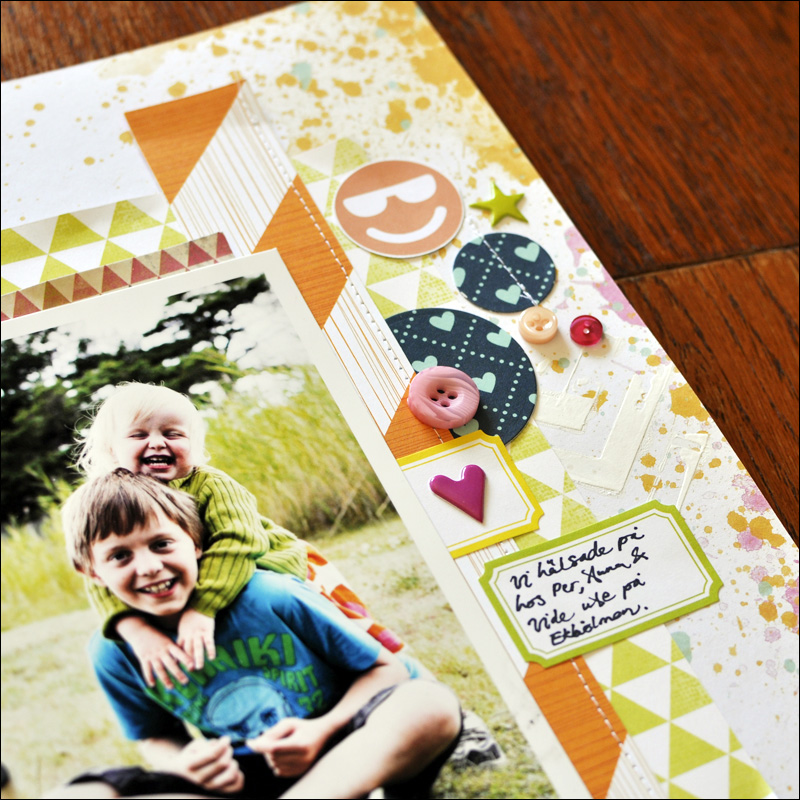
Among other things, the August Project Art kit contained a set of watersoluble crayons. This is my favourite out of my August pages. I love the little paper dots that came with the kit and I glued them down, covered them with gesso and then used the crayons to paint.


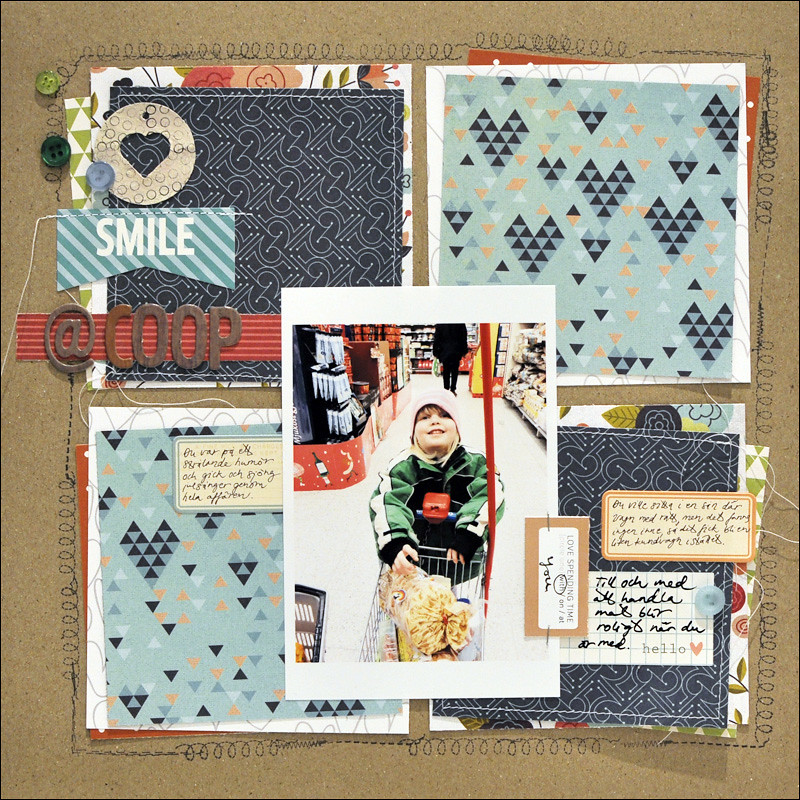
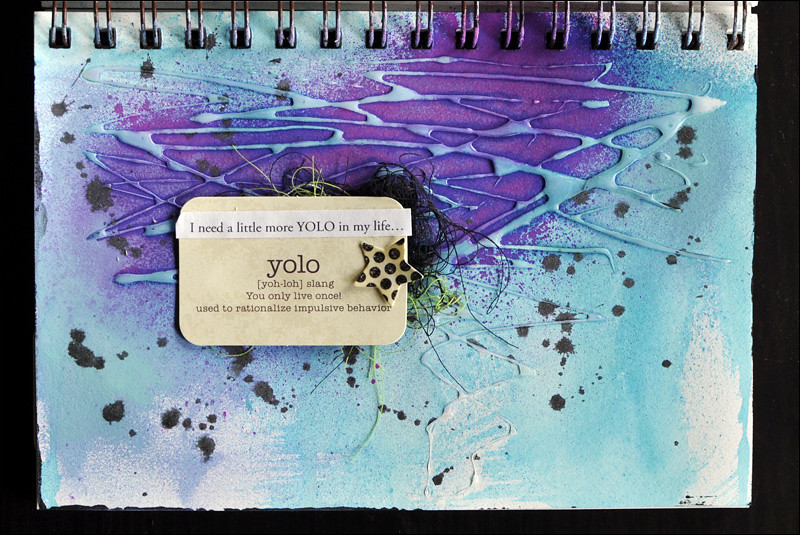
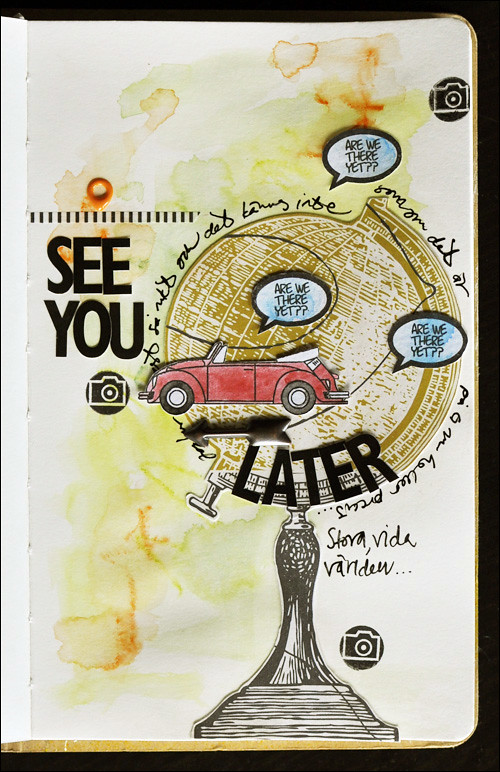
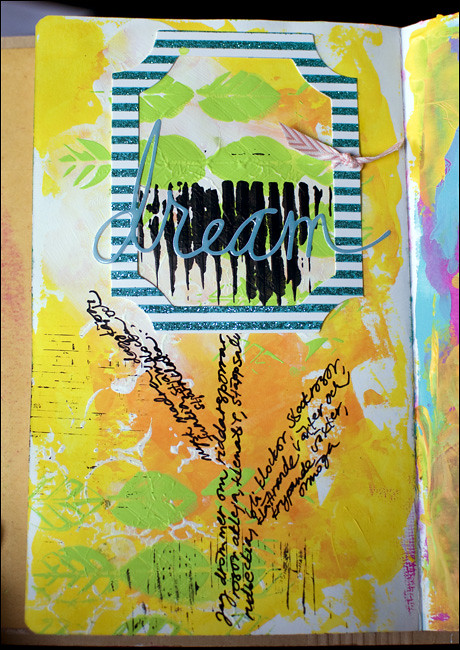
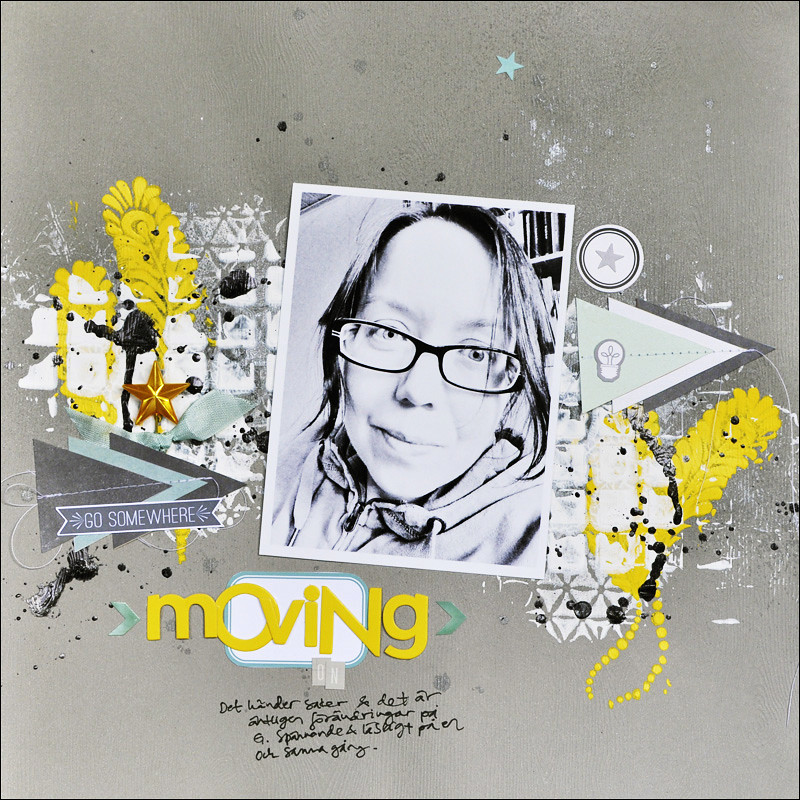
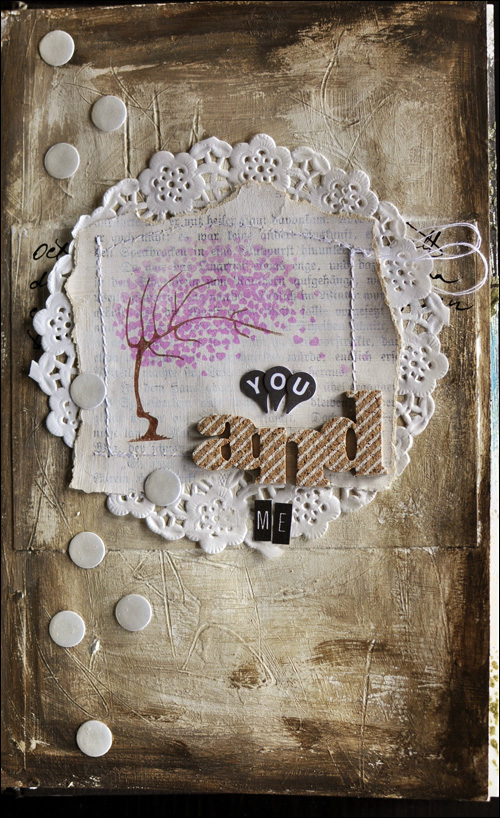
I also made a page about travelling... or about not travelling... :)


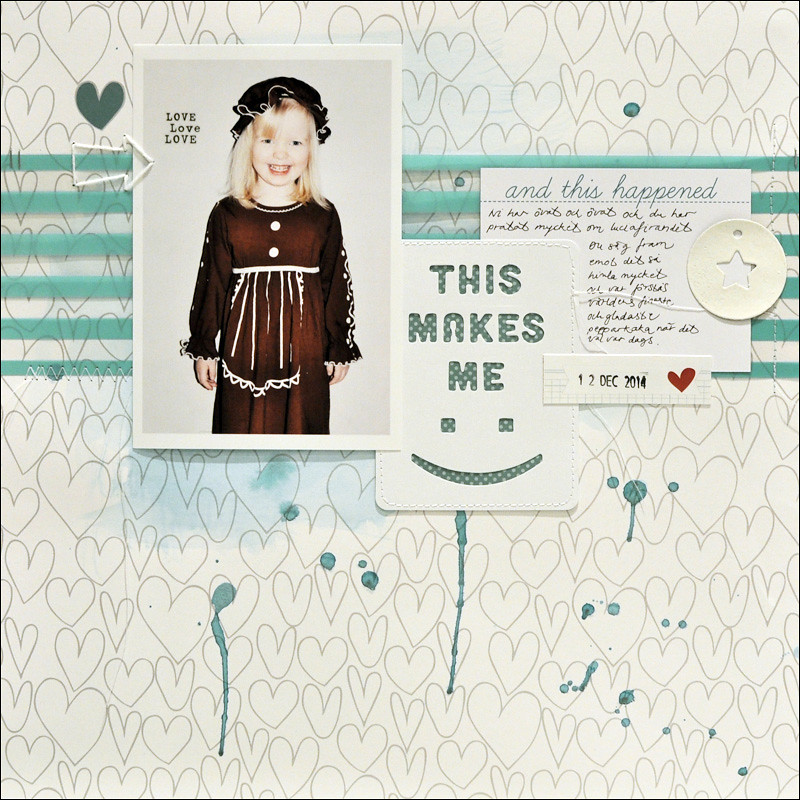
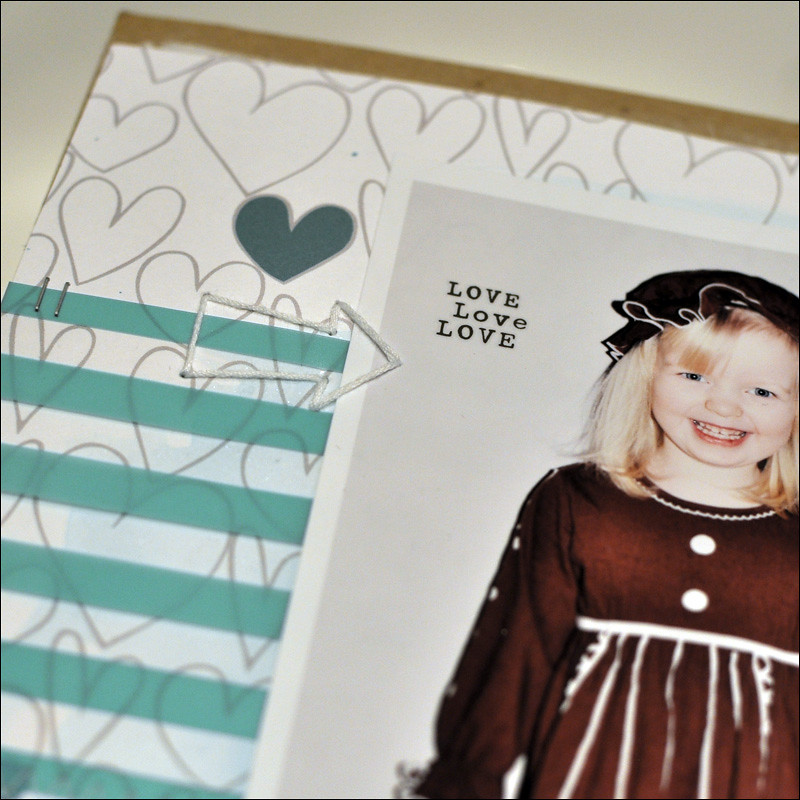
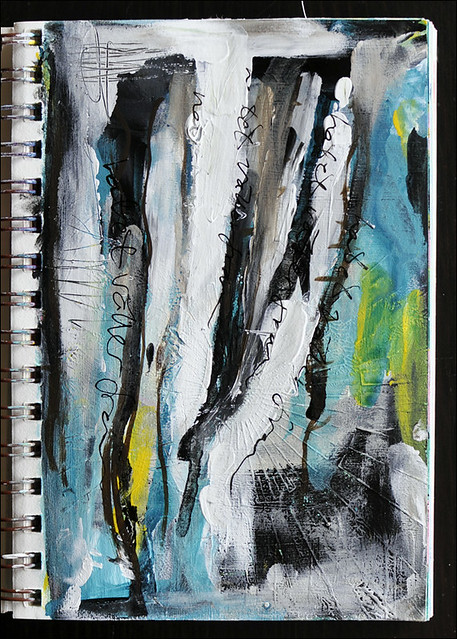
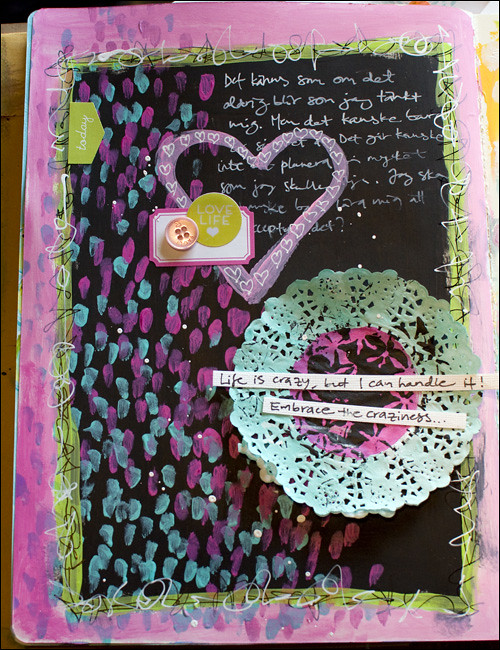
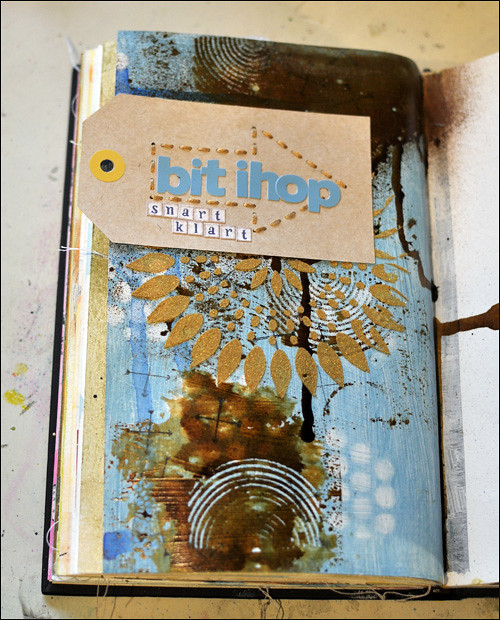
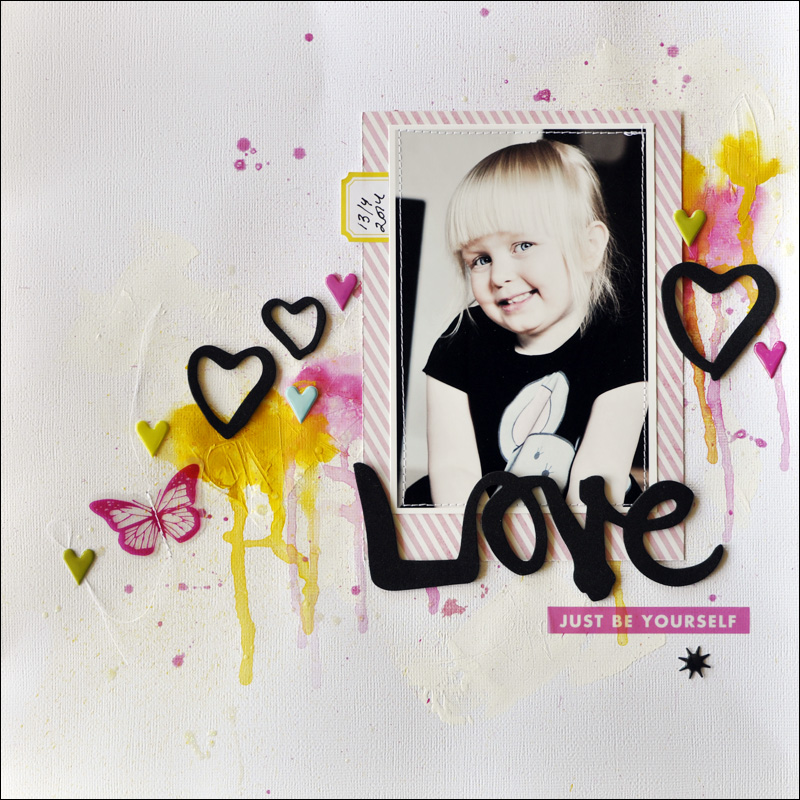
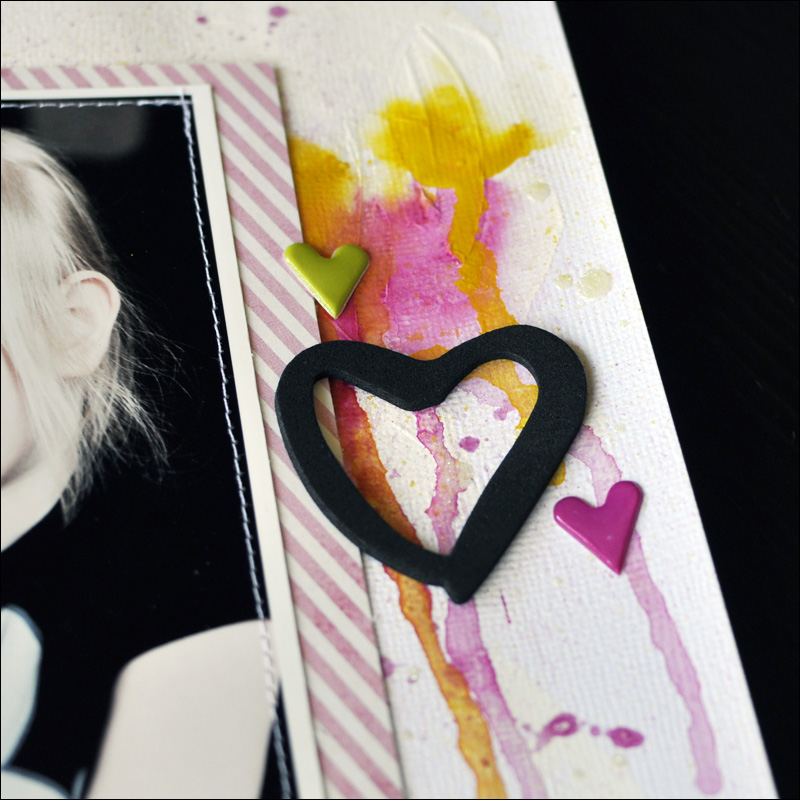
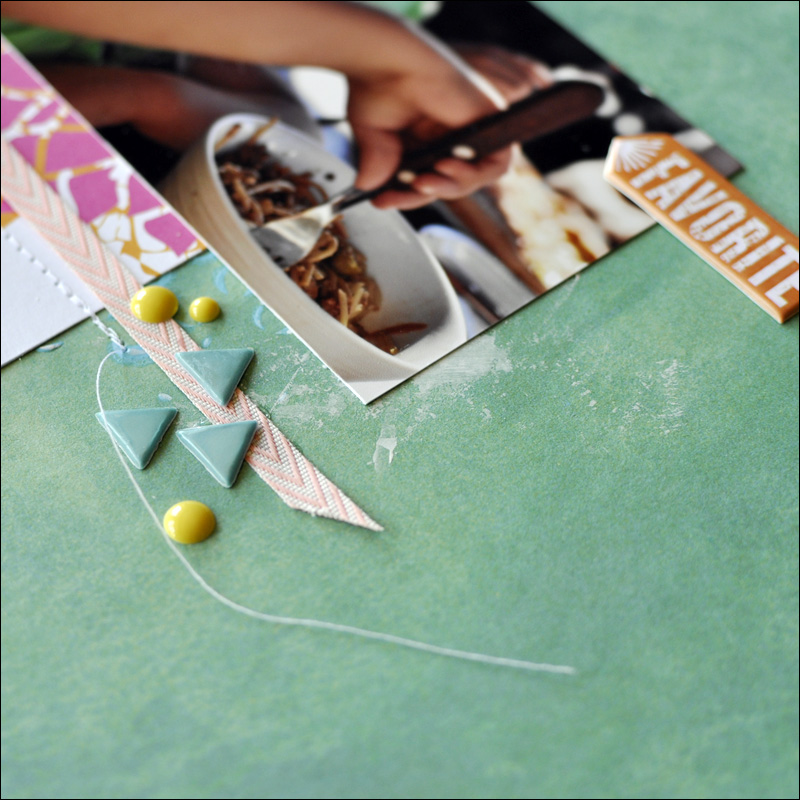
...and a really messy one, where I used a couple of the Heidi Swapp tags that also came with the Aug Project Art kit.


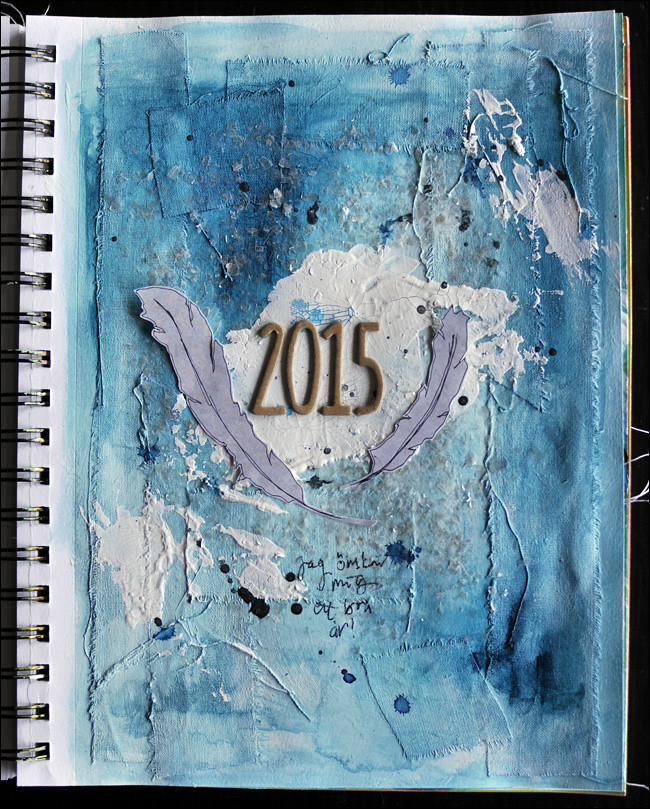
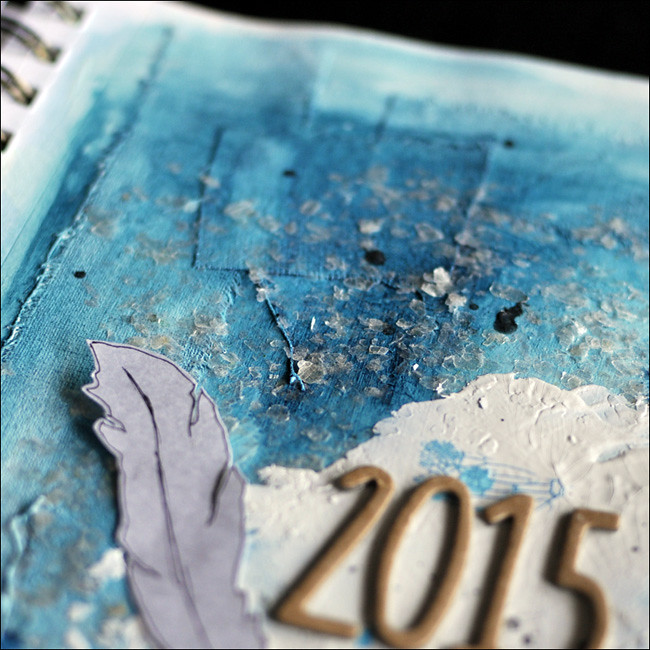
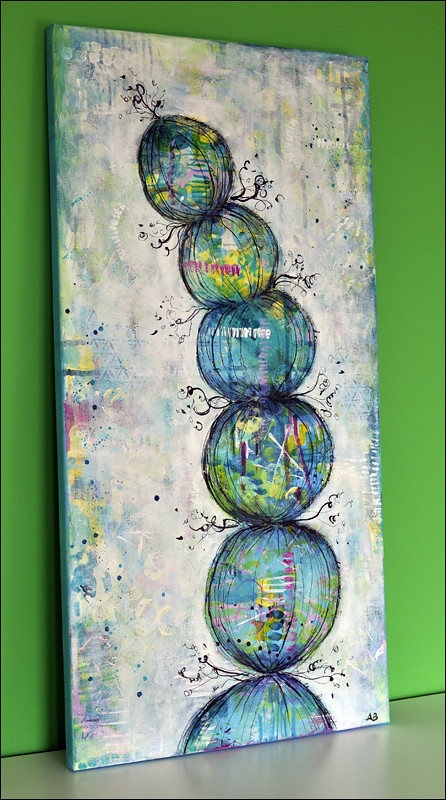
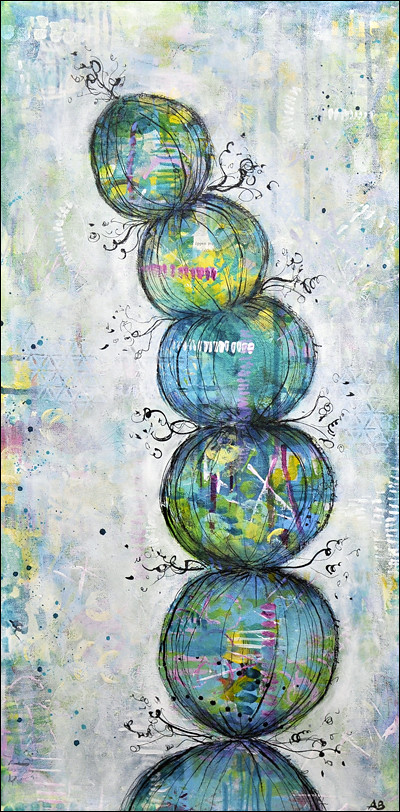
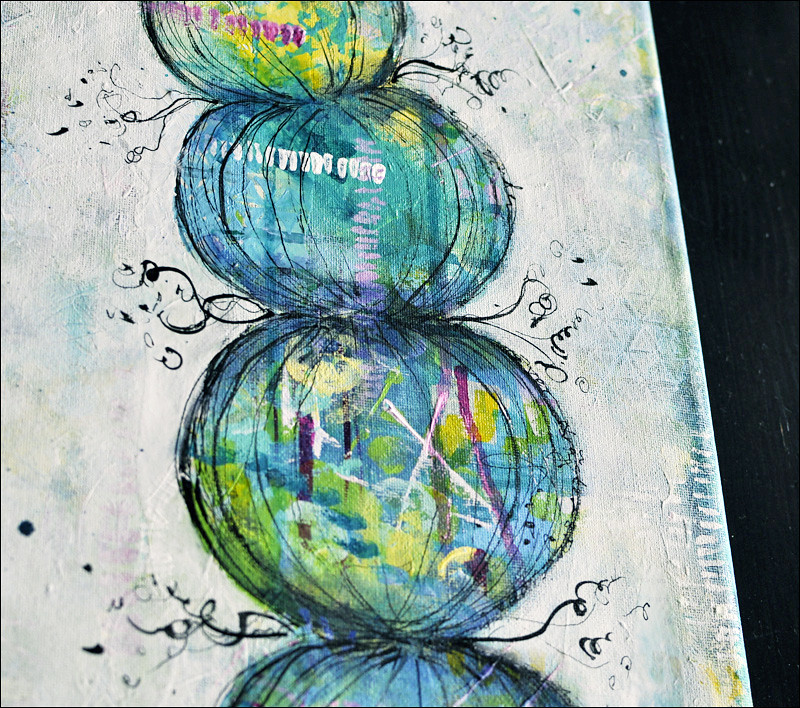
The September Project Art kit contained something that I really love - Liquitex String gel. The blog post is going up at the Cocoa Daisy blog today and I really hope to post my projects here soon.

Have a wonderful Friday and a lovely weekend!

onsdag 9 juli 2014

My June Project Art pages

The June Project Art kit from Cocoa Daisy contained some Dina Wakley acrylic paints + black gesso. I was really looking forward to trying Dina's paint and I wansn't disappointed! The colours are wonderful and  vibrant, they have a lovely consistency and they dry matte - perfect for a journal.

Here are the pages I created. The first one is messy and talks about my goal to run 5 km.


Life is crazy... :)


About my garden dreams... 
 

I also painted one of the cute bags that holds the Project Art kits - so much fun!


onsdag 2 juli 2014

Happy, lovely moments...

The Viewfinder kit from Cocoa Daisy is now on sale - go check it out! This is a fun and fab kit that has some travel themed items, but that is totally useful also for non-travel layouts, as examplified by my layouts below... :)

This is the main kit - I really love the stitching template and the floss!


 I used the template on this layout and then covered my stitching with gesso, paint and mist.


On this layout I stitched one of the words on top of my photo. I used a white mist to add a very subtle pattern to the background.


My third layout is a bit messy and a fab example of the strategy "if you aren't happy with what you've created - add more paint!". :)


torsdag 26 juni 2014

Viewfinder - the Cocoa Daisy July kit

It's time for sneaks... :) Reveal takes place on June 28th, and this is such a fun kit! I hope you have been checking out the new Cocoa Daisy site? Be sure to visit the blog and take part in our celebration of the new site! You could become the guest designer for September's kit! There are also several ways to win a Daisy Box.


tisdag 24 juni 2014

More Project Art pages...

The journaling on the first of the pages I'm sharing today says "Sometimes I'm trying to save the world"... :)

 
There is some hidden journaling on this page and the arrows are keeping it closed.
 
 
The page above, as well as the next two pages below, were made using the October Project Art kit from Cocoa Daisy (it's still available!). The Ferro paint gives the pages a fab texture!


For the next two pages I used the February Project art kit + the main kit and add ons of course. The tree/hearts stamp is sooo pretty!


 Thank you so much for stopping by!
 

söndag 1 juni 2014

Boho Garden

The Cocoa Daisy June kit - Boho Garden - is on sale!

It's a bright and happy kit with bold contrasting details in black! As usual though, I am amazed to see how many different styles and colour combinations that can be pulled from the same kit! Check out the DT gallery for some fab inspiration.

Here is what I created with the kit + add ons, so far.


I used gesso, Distress Paints, Glimmer Glam and Glimmer Glaze to create the background and the word "love" and the black hearts are from the Daisy Chain add on.


I love the bold pattern in the Cocoa Daisy exclusive floral paper that I used on this next layout. Many ideas on how to use this paper can be found in this blog post. These photos are from 2010 and our vacation on Öland. We went to the same restaurant a couple of times and the kids had their favourites - pizza for Linus and spaghetti bolognese for Alva.


The enamel dots, the phrase "it was delicious" and the word "enjoy" are from the Rosehip add on. 


I totally adore this photo from last summer, of Linus and Tuva. I used the main kit + a couple of the exclusive subscriber printables for this layout.


I used some gesso + a stencil to create some subtle textue in the background.