Sidor

onsdag 31 december 2014

Good bye 2014...

This has been a very strange year. So many emotions and quite a bit of struggling, from the beginning of the year and all the way to the end.

I lost my Dad in an accident in early November, and I really didn't need another reminder of how fragile this life of ours is. I don't have words to express how I feel. I just miss him so very much.

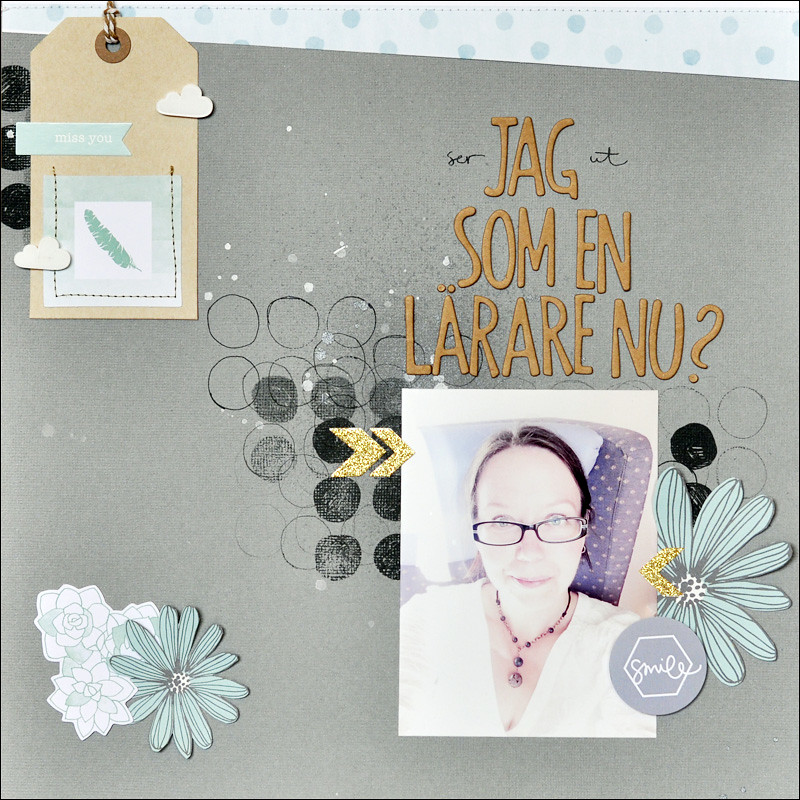
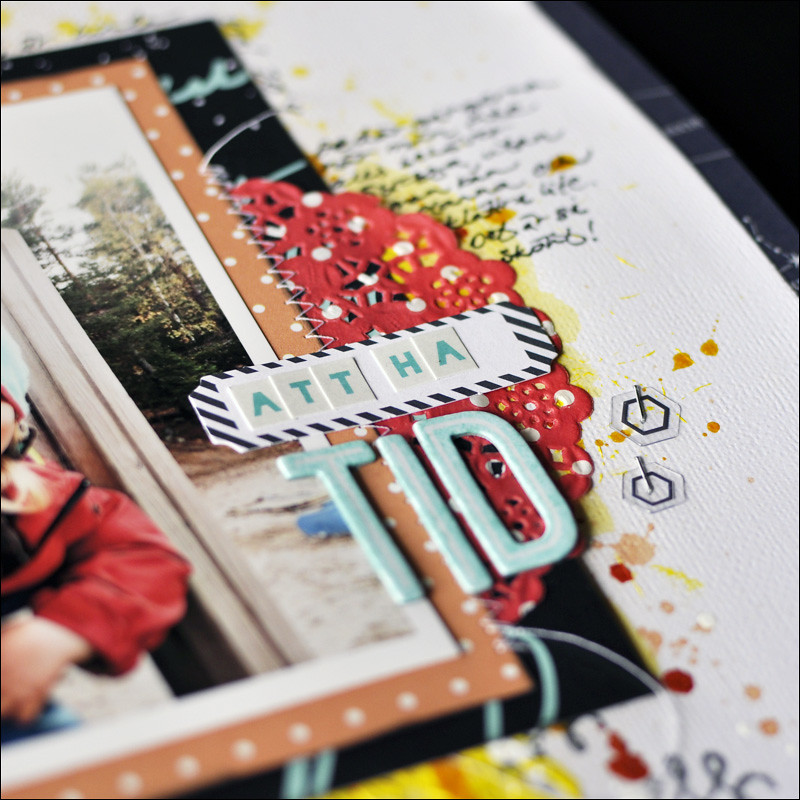
This year I took the huge step of taking some time off from my job and going back to the University. The goal is a totally new career as a teacher. I've loved it so far and I really hope that I'll still feel this way at the end of 2015.

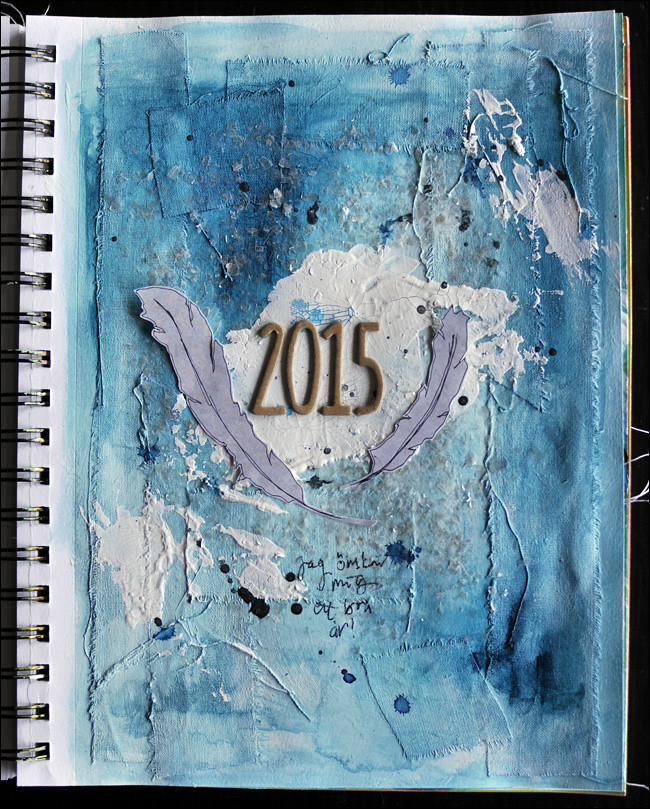
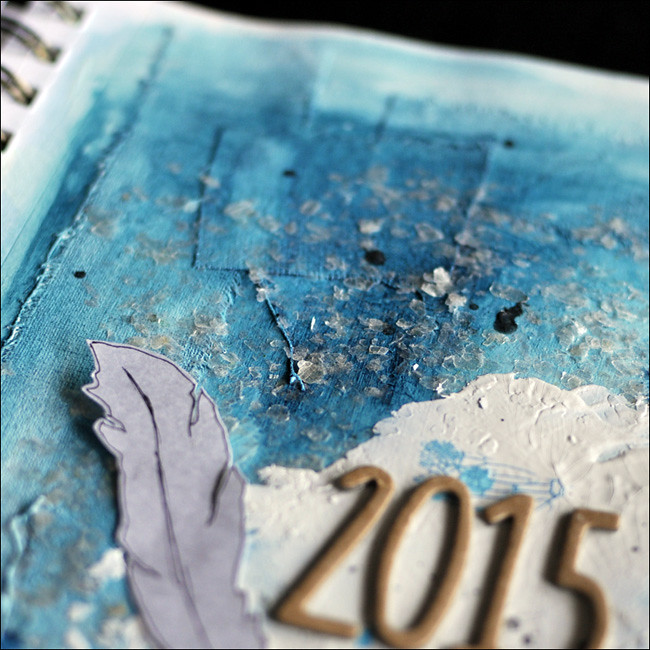
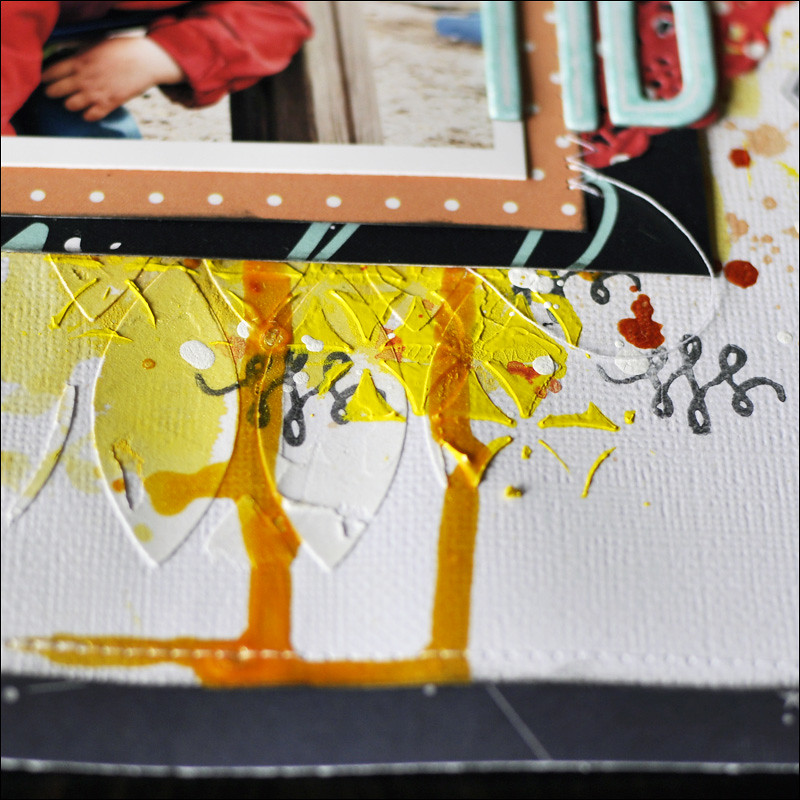
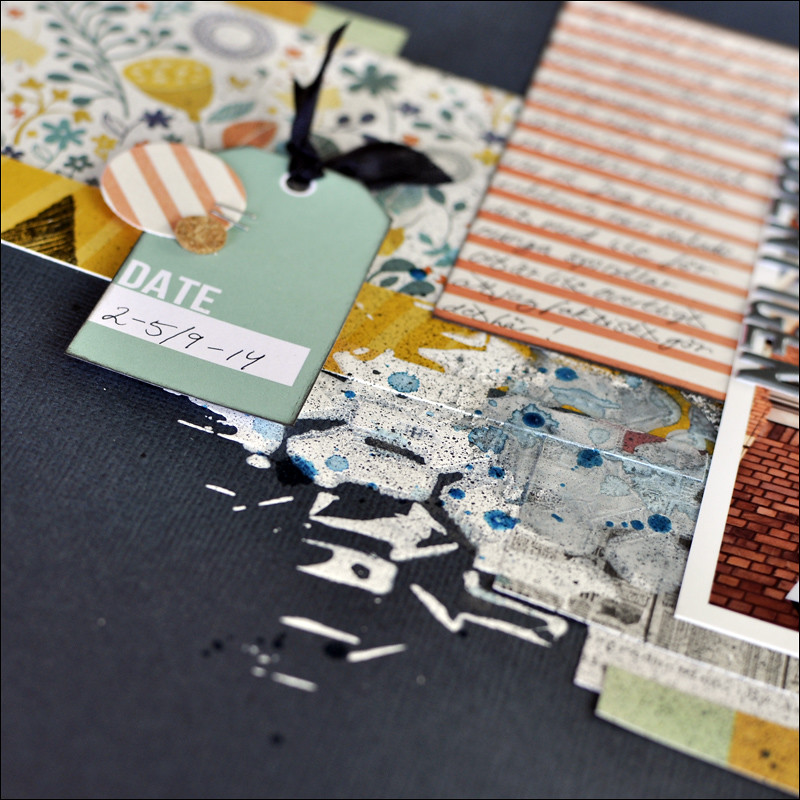
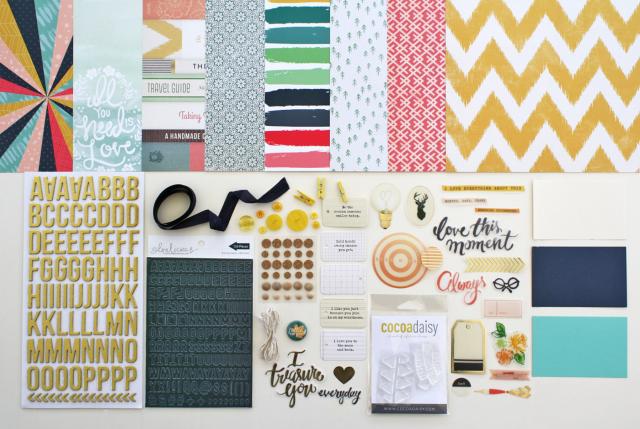
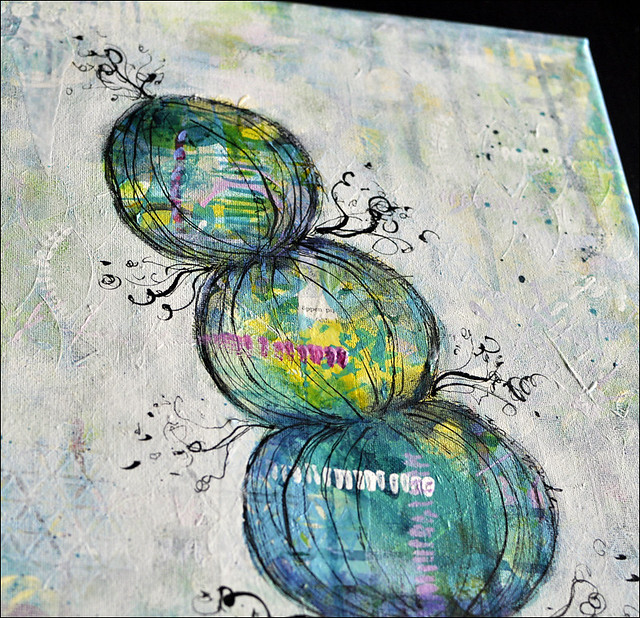
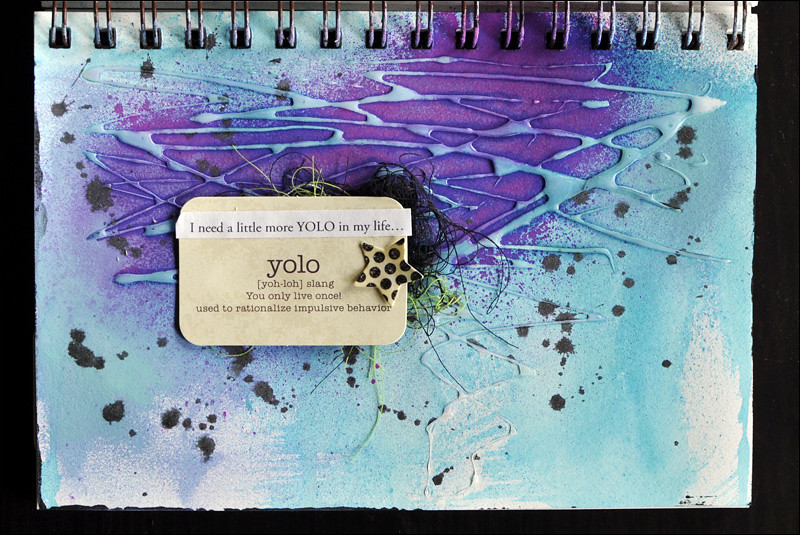
Here's a page that I made using the mica flakes and the texture paste (white crackle) in the December Project Art kit from Cocoa Daisy. I glued down strips of fabric to my page and painted them with gesso and acrylic paint. I drew the feathers on a gray paper and cut them out.

The writing simply says: "I wish for a good year."


onsdag 3 december 2014

Monterey Bay

The December kit from Cocoa Daisy is called Monterey Bay and it's another gorgeous kit with pretty colours and fun exclusives.

I immediately fell in love with the exclusive papers that Stephanie designed, and I used both of them on this layout, made after the Dec sketch. Check out the sketch challenge on the blog!

I also love the cute acrylic houses!

 
For my next layout I used the fab Wonky circles stamp set.


On my third layout... with these adorable photos of Tuva and the phone... I used the yellow glitter from the Carmel add on for my background, using matte medium as my adhesive.


söndag 2 november 2014

Weathervane...

The Cocoa Daisy November kit is called Weathervane! I really loved playing with this kit. Among other things it contains these fab wood veneers that I used on my first layout, titled "spin". I used gesso and mist to colour the wood veneers and I also splattered some mist onto my background.


I coloured the Heidi Swapp letters with yellow mist.


I love the clear die cuts!


My next layout is a very simple one with a cute photo of my daughters, on our way home from school. I LOVE the dark scribble paper designed by Stephanie. I just had to use the hearts stamp from October.


I also created a layout with a messy background, using the Whipped Spackle from the Oct Project Art kit, together with stencils and lots of mist and also Glimmer Glaze.


Again, the clear die cuts are fab!


I hope you've had a wonderful weekend!


fredag 10 oktober 2014

And what about yellow, orange and red...?

I wanted to explore some colours that I rarely use. Most of the time I turn for different blues and greens and these aren't "my colours" in the same way. It was really interesting how clearly I could feel the difference while painting. I felt so much more insecure and I wasn't at all sure where I was heading.

But I am so glad that I challenged myself and I like the result. I am also happy that I came up with the idea to use the green wall in Linus' room to take photos. :)

Size: 20x30 inches (approx. 51x76 cm)

I just have to add the other two as well, against the green. :) The light wasn't perfect though, and they are a little too dark at the top compared to the bottom part in these photos...

Size: 18x24 inches (approx. 46x61 cm)

Size: 12x24 inches (approx. 30x60 cm)

Have a wonderful weekend!

onsdag 8 oktober 2014

And then I painted some more...

...exploring the same shapes, but different colours...


Size: 18x24 inches (approx. 46x61 cm).

måndag 6 oktober 2014

The painting...

It measures 30x60 cm, which is approx. 12x24 inches. I mostly used acrylic paint, but also some collage and a marker and probably something else that I have forgotten about... :) It's tricky to get a good photo of it! The edges of the canvas are painted blue but I cropped the image because of the messy background. I should find a not-so-messy spot to take photos where the whole canvas is visible. :D

 
I actually made a drawing with this kind of shape while being at the University and listening to a lecture a few weeks ago. Being a student is good for your creativity... :D


torsdag 2 oktober 2014

Art Education

Tomorrow I'm leaving for the second meeting at the University in Gävle, for my course in "Art Education". One of the first things we were told was that "it's all about the process and not about the product" and that felt soooo good!

This is something I made a few weeks ago, during that first meeting. :) After drawing/painting the same object five times with different supplies I wasn't very happy with any one of the pieces, but I really tried not to think too much about it. Process, not product... :) ...but I actually do like the final result, where pieces of four of them were combined into one.


tisdag 30 september 2014

My Blue Ridge layouts...

Here are the layout that I've made so far, using the October kit from Cocoa Daisy. I used the main kit (I LOVE this exclusive Cocoa Daisy paper designed by Stephanie!), the DITL kit and the DITL add on for this first one. Collecting the kids from school and daycare is fabulous on days like these... :)


The "hello" is a wood veneer shape from the DITL add on and I heat embossed it using Gold Glitter Zing Embossing powder. I did the same thing to the small triangles (also wood veneers from the same add on) and to the die cut triangle tag from the DITL add on.


This second layout - with this year's "first day of school photo" - was made using the main kit, the patterned paper add on (I love that floral paper from Crate!) and the DITL kit. The blue arrow, the rub on down to the right and the gold glitter circle are from the DITL kit. I love the heart stamp - it's from the stamp subscription.


My third layout was made using the main kit, the patterned paper add on and one of Martha's fab printables.
 

I used some gesso, mist and Glimmer Glaze on my background.


Have a great day!


måndag 29 september 2014

Blue Ridge Reveal...!

This is how Christine describes the Blue Ridge kit - the October kit from Cocoa Daisy:  "Reds and pinks, warm sunny yellows, evergreen and mint, and the many shades of blue can be found in our papers and embellishments this month. Vellum shapes, cork and wood dots, sparkly twine, soft seam binding, cheery yellow buttons and mini clothes pins, and a collection of mini cards add to the beautiful view. A rich gold chipboard alphabet mixes with a unique puffy navy alphabet, just the right size, perfect for your titles. And of course you'll get our stamp set, designed by arleigh."

Here's the main kit:


The Day In The Life kit:

Crabtree Falls (DITL add on):

Parkway add on:

Shenandoah add on:

The October Project Art kit:

The November Daisy Day Planner kit:

Gorgeous, isn't it???! I'll have the projects I made so far posted tomorrow! Welcome back! :)


söndag 28 september 2014

Blue Ridge sneaks...

The reveal of the Cocoa Daisy October kit "Blue Ridge" takes place tonight! As always I am amazed when seeing all the fabulousness created by the rest of the team. Christine has put together another wonderful kit and everyone has their own gorgeous take on it.

Here's a tiny sneak from me. I got the main kit, the Day In The Life kit, the DITL add on and the patterned paper add on. And I looove those little hearts from the stamp subscription!


fredag 26 september 2014

...more paint...

...on a canvas this time...! I can't wait to paint more and to go even bigger! :) I'll show you the whole thing when I've been able to take a decent photo. It's not huge, but about 30x60 cm (approx. 12x24 inches).

Have a fab weekend everyone!


måndag 22 september 2014

And a layout!

...a layout made using the Cocoa Daisy September kit + add ons. Tuva looked at it and said "I am sleeping" because she couldn't see that her eyes were open in the photos. :) She wasn't sleeping though, but trying to fasten her seat belt herself...

söndag 21 september 2014

Cocoa Daisy September Project Art kit

The September Project Art kit from Cocoa Daisy contained Liquitex String Gel, two “fragments” designed by Ronda Palazzari to use as masks, an exclusive Cocoa Daisy stamp “little dots”, a Fude Ball pen, a tube of Dina Wakley acrylic paint “ruby”, a graph card and a piece of sewing pattern.

I really love String Gel! It's so fun and messy! :) You can use it as it is (it's white, but dries clear) or you can colour it with paint. Here I used the red Dina W paint and Liquitex Acrylic Ink in gold.

For more images, ideas and info, please visit the Cocoa Daisy blog.


I also tried making patterns with gel + black paint and then filling some of the spaces up with other colours.


I made some green grass...


I used mist and then rubbed some acrylic paint on top of the gel, to make it stand out.


I created this very simple layout with this three year old photo of baby Tuva! :)


I also created this page in my journal, practicing some writing with the gel + black paint.